If you have any specific requirements/ideas for the Data Export Template, you can contact the admin to arrange your own template.
TABLE OF CONTENTS
via Plan Viewer
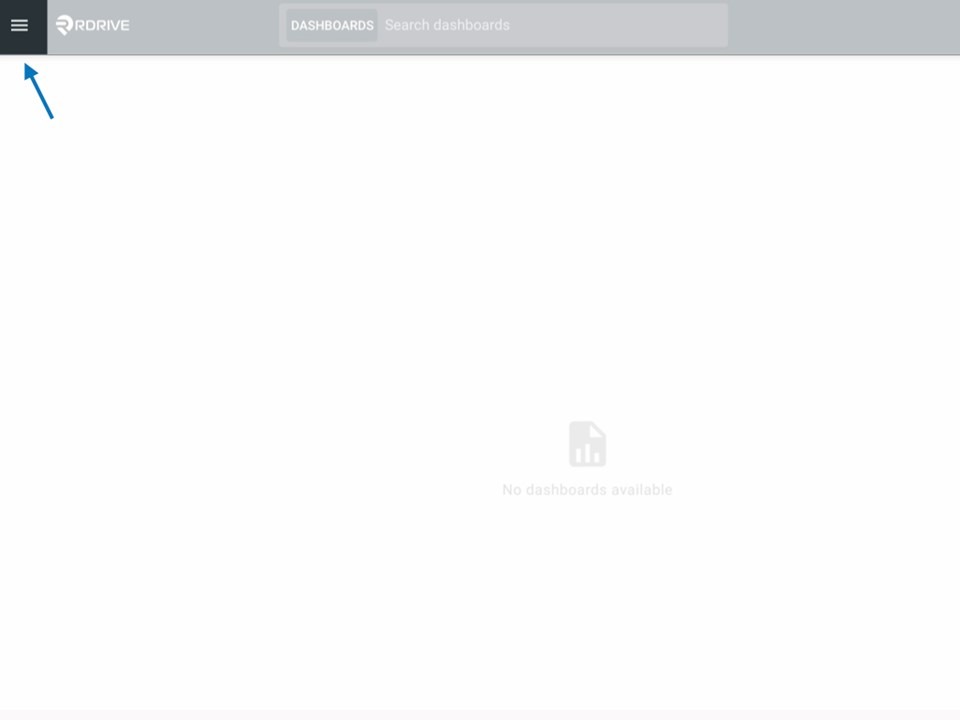
Click the Menu icon ≡ in the top left corner to unfold the Menu and access to the Plan Viewer, and then select your drawing.

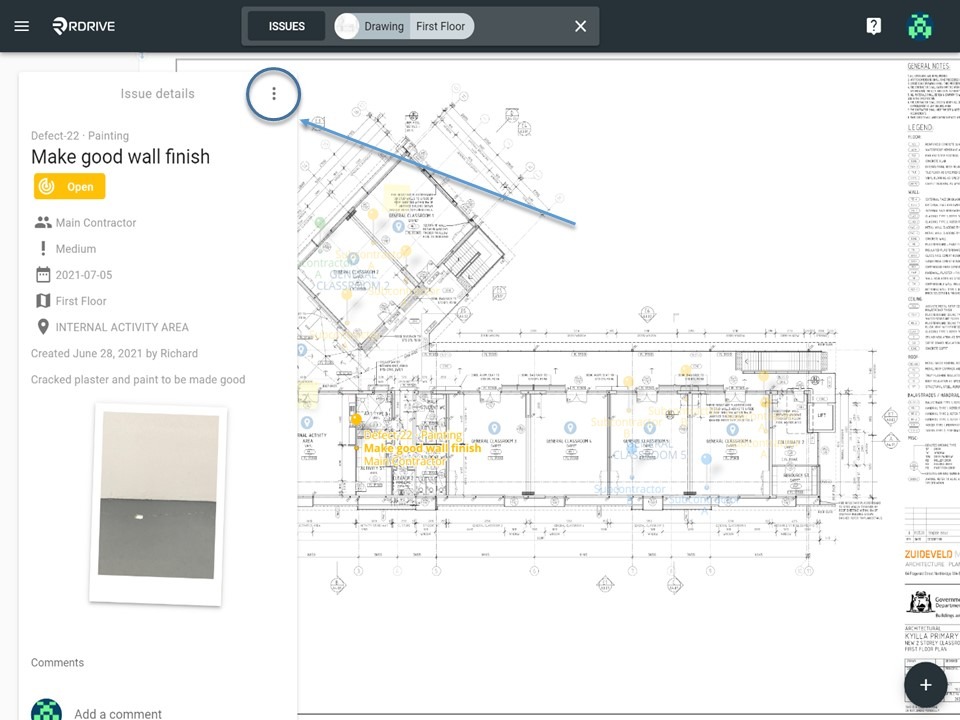
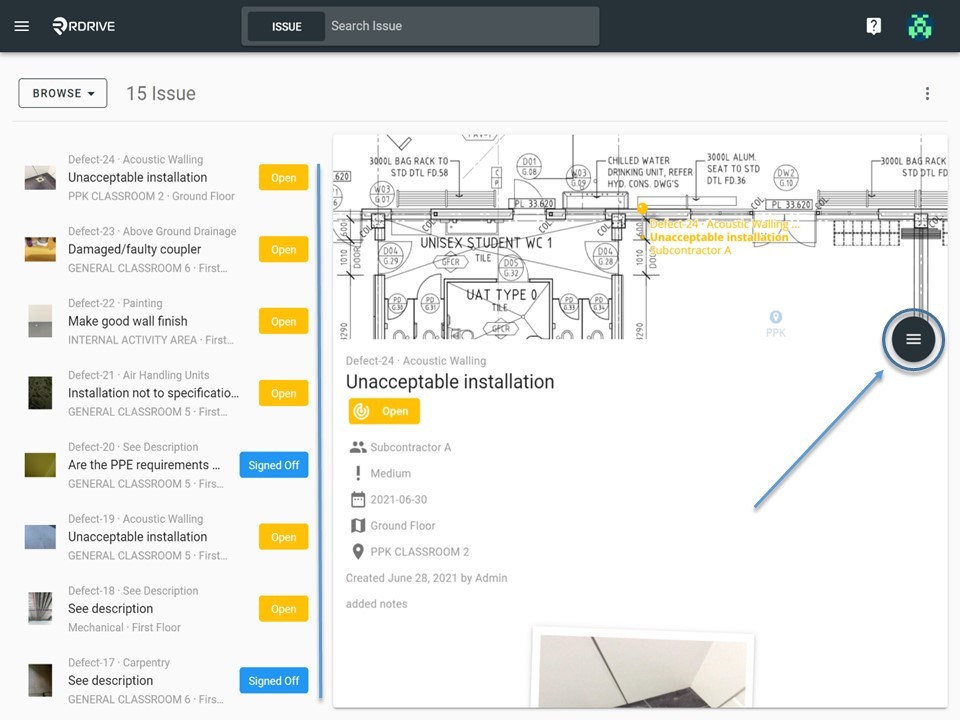
Click on the issue/defect/record pin as circled below. Once selected, the details will populate on the left of your screen.
Then click the 3 dots ⋮ button at the top right corner of the detail display as shown below.

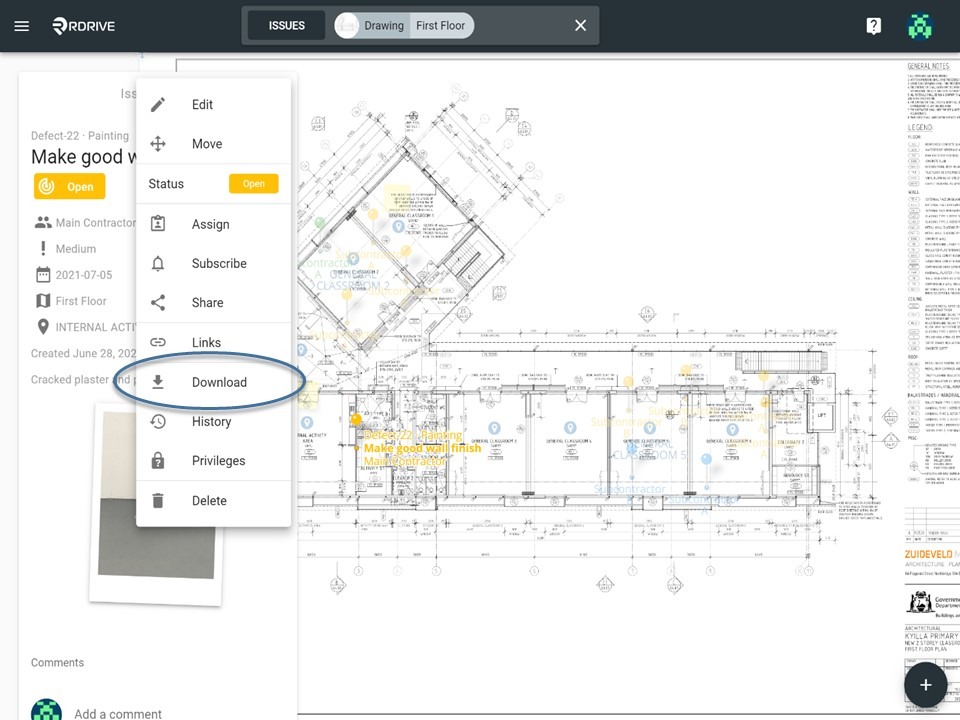
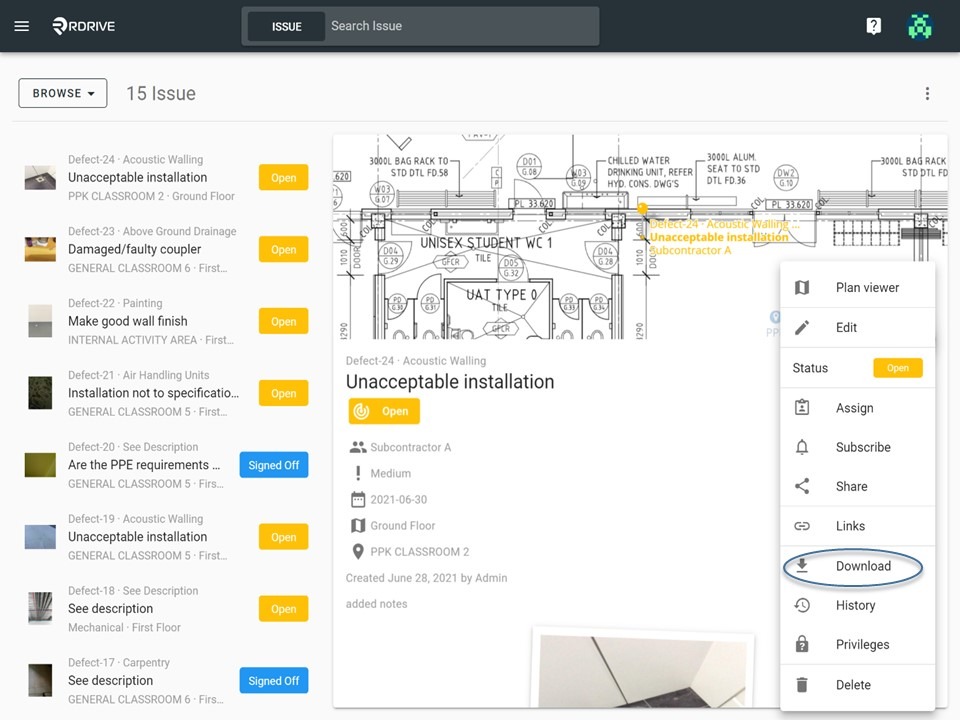
In the unfolded Menu, select "Download" and the download options will pop-up as below.
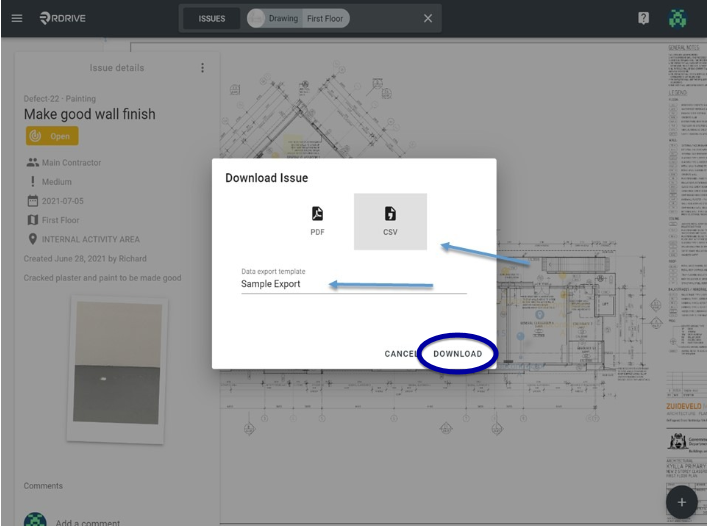
Select "CSV", then select the Data Export Template you want and click "Download" as circled below.
via Issue Finder
Simply click the Menu icon ≡ in the top left corner of your screen to unfold the Menu. Then select your chosen category and subcategory to access the Issue/defect/record page.


Select your issue/defect/record and expand the menu by clicking the ≡ button.
In the Menu, select "Download" and click "CSV". Then select the Data Export Template you want and click "Download" as circled below to complete report export.

To Batch Download
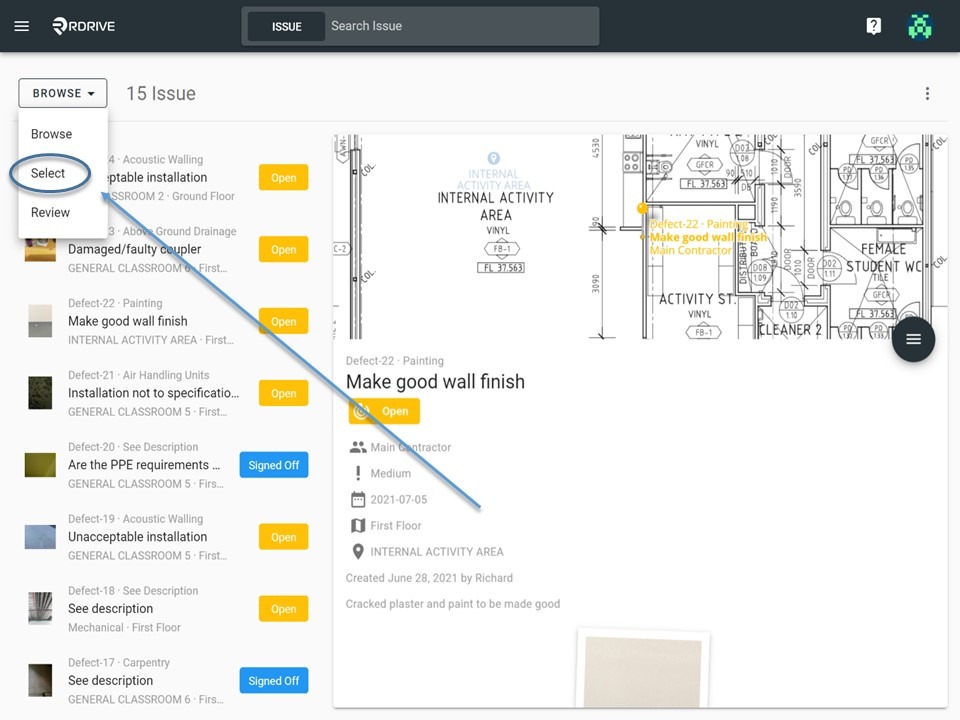
To download a batch of multiple issues/defects/records, you must first switch the mode from "Browse" to "Select" as shown below.
In "Select" mode, you can select multiple issues to export the report as necessary.
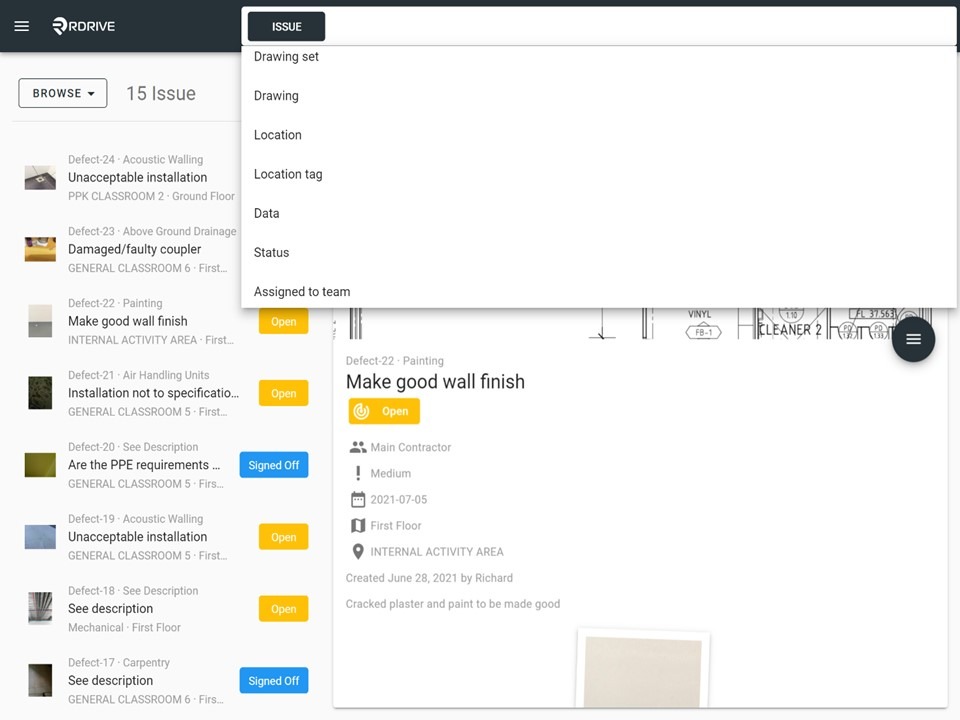
You can also refine your download by filtering and searching for relevant issues/defects/records, which can be done via the search bar at the top of your screen as shown below.
Select the desired issue(s)/defect(s)/record(s) on the left, they will be highlighted in grey as shown below. Once you are happy with the issues/defects/records selected, click the "Download" button highlighted below.
If you wish to batch download all the issues/defects/records listed on the left. It can be done by clicking the "Select All" button circled below (left) next to the "Download" button.
Clicking the "Deselect All" button circled below (right) will clear all selected items.

After clicking "Download", the download options will pop-up as below.
Simply click "CSV"and select the Data Export Template you want and click "Download" as circled below to complete the report export.

Was this article helpful?
That’s Great!
Thank you for your feedback
Sorry! We couldn't be helpful
Thank you for your feedback
Feedback sent
We appreciate your effort and will try to fix the article