Preset list is a constrained drop-down list.
While it makes it easier for people to complete a form / an issue record, it also allows your company to collect structured data from it.
You can create a standard single-layer list or a standard hierarchical list depends on the needs for all of your projects.
Changing the preset value at the company level
This will affects the preset value which is in default and the new projects that will be created in the future.
New projects will adopt these values for their presets.
This does not affect any preset values in any existing projects if have a project-specify value.
If, the preset value has been changed as the project specified - Project specify values will retain;
If, the preset value wasn't edited by the project specify - Values will change with the company level.
How?
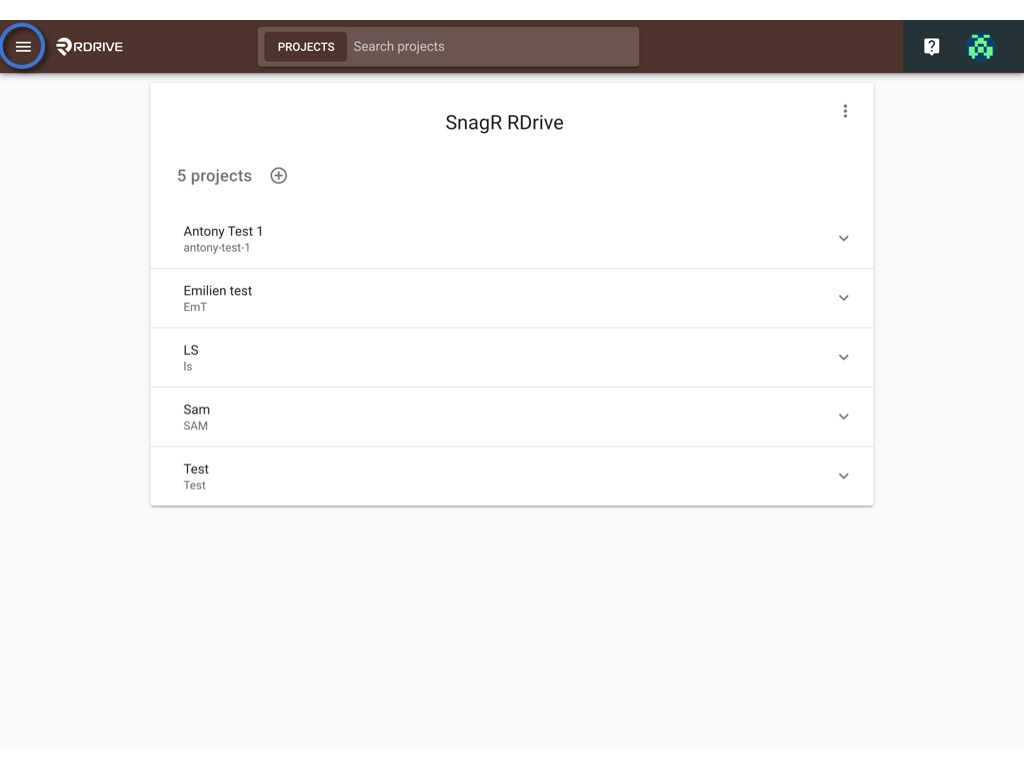
First, log in to Company Area. Only the company admin can access this page.
Click Settings and select Presets.
From here, you can ✚ add new or ✏️ edit preset list(s).
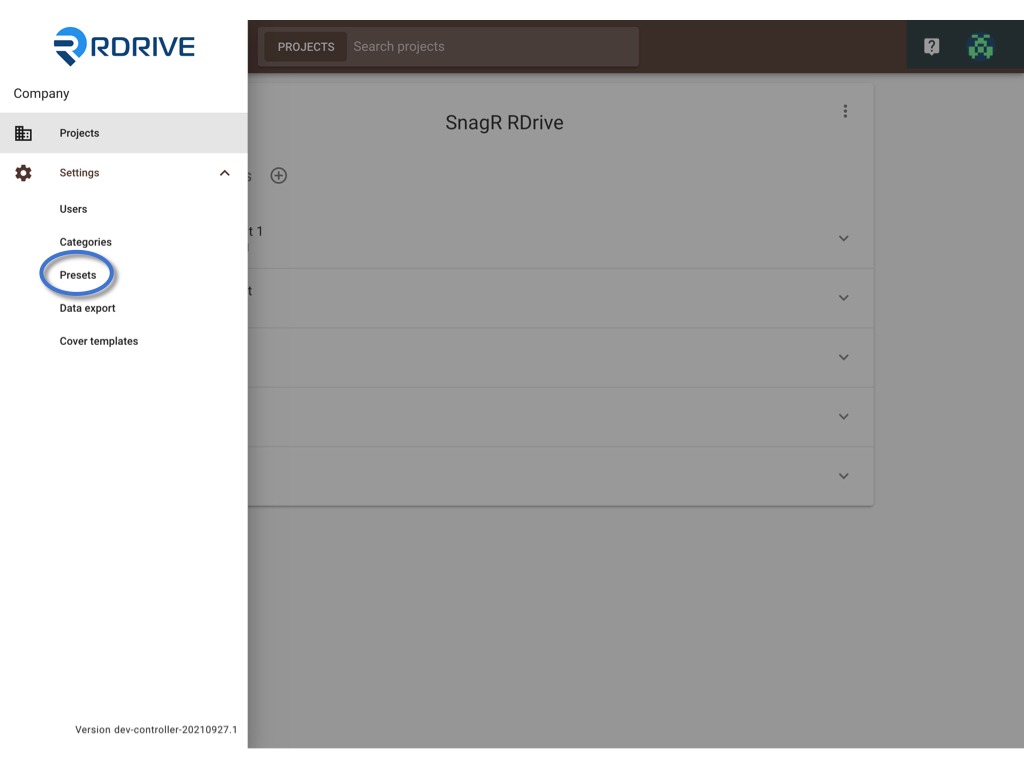
Click List

✚ ADD
To add a new list, you may
1️⃣ add on the website manually; or
2️⃣ import single list by the template; or
3️⃣ import a template to add multiple lists.
To Add on the website manually.
You can create a new list straight away by clicking the + button.

Enter the list title and the items, OK to save

How to create a hierarchical list (Multi-layer list)?
Just simply click Tab key on your keyboard to start a new layer of a list
⬆ Import single list by the template
If you have a lot of list items to add, please download a template to upload the custom list.
Here are the steps of uploading preset list using the template:
Click the + button and select Upload.


Click Template to download the preset template in Excel format

Column A is the name of the custom list.
Columns B, C, D... etc. are the list items in the custom list.
An example of creating a single-layer custom list and hierarchical list:

Save the Excel and upload the file to the system
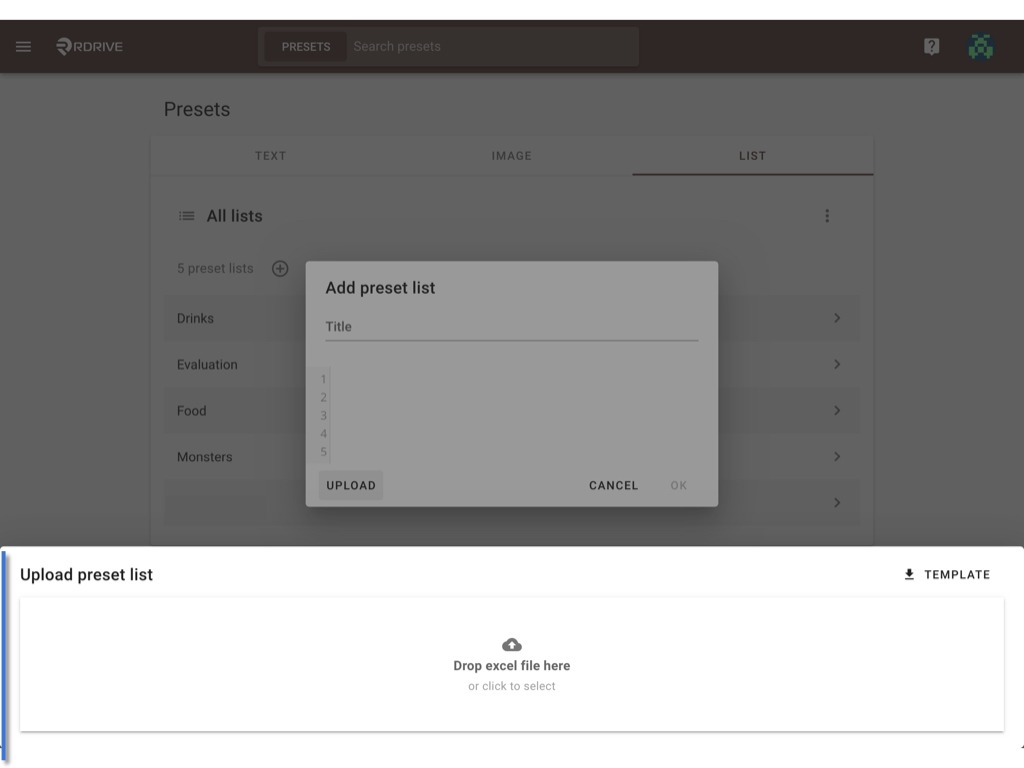
Skim the content and click OK to save.

⬆ Import a template to add multiple lists.
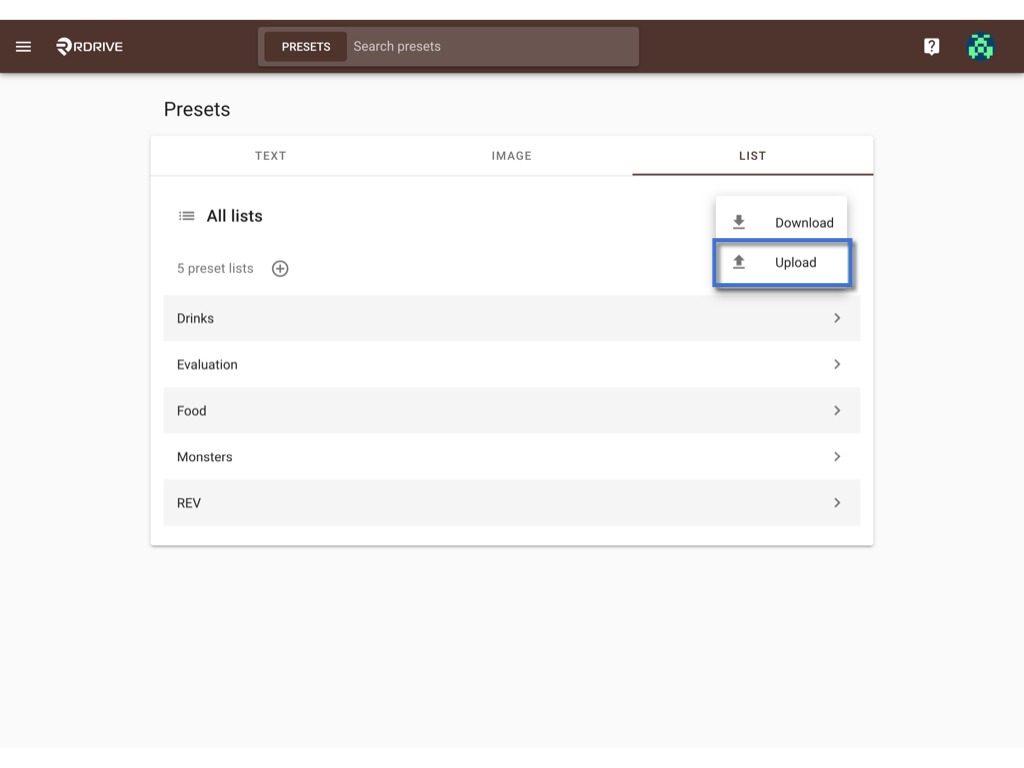
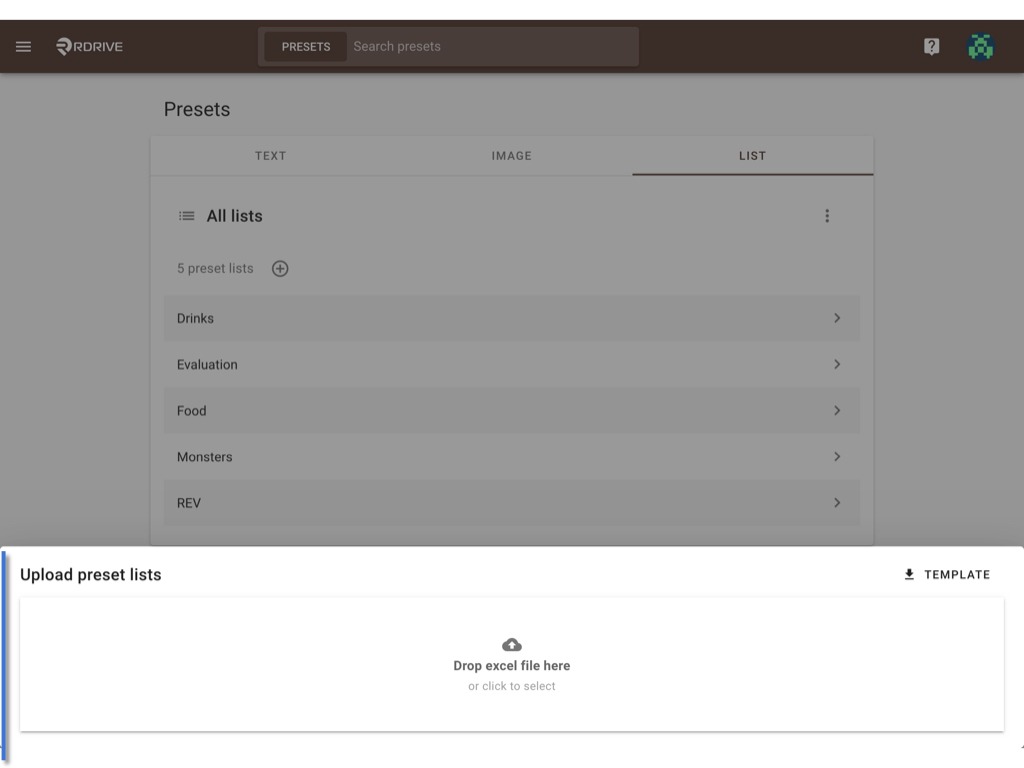
Click the ⋮ and select Upload.


Click the TEMPLATE to download the example template for editing before upload or directly uploading the template you have.

An example of creating multiple lists:

How to include this preset list in the issue template or process template?
Select List field type and you will see the preset list that you just created at the attributes.
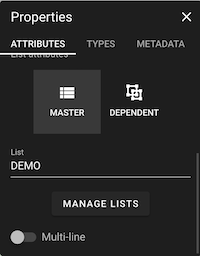
The preset list and its items become default values to all projects of the company. However, the preset lists are available on the project level for editing according to the project needs.
✏️ EDIT
Preset list items that are applicable to all project levels by default
From time to time, there may be some updates on list items of a preset list.
If you are a company admin, you can edit the list items on the company level to place the list items changes to all the projects in one go.
If you are a project admin / user who is given the edit permission to edit preset items, on the project level, you can edit the list items which are set on the company level according to your project needs.
How to edit the list items on the company level?
To edit a preset list, you may
2️⃣ re-upload the edited template to batch edit.
⚠️ Be careful that if you edit the list items on company level, the changes will automatically apply to the same custom list on project level.
To edit a single list
Select the list that you would like to edit.

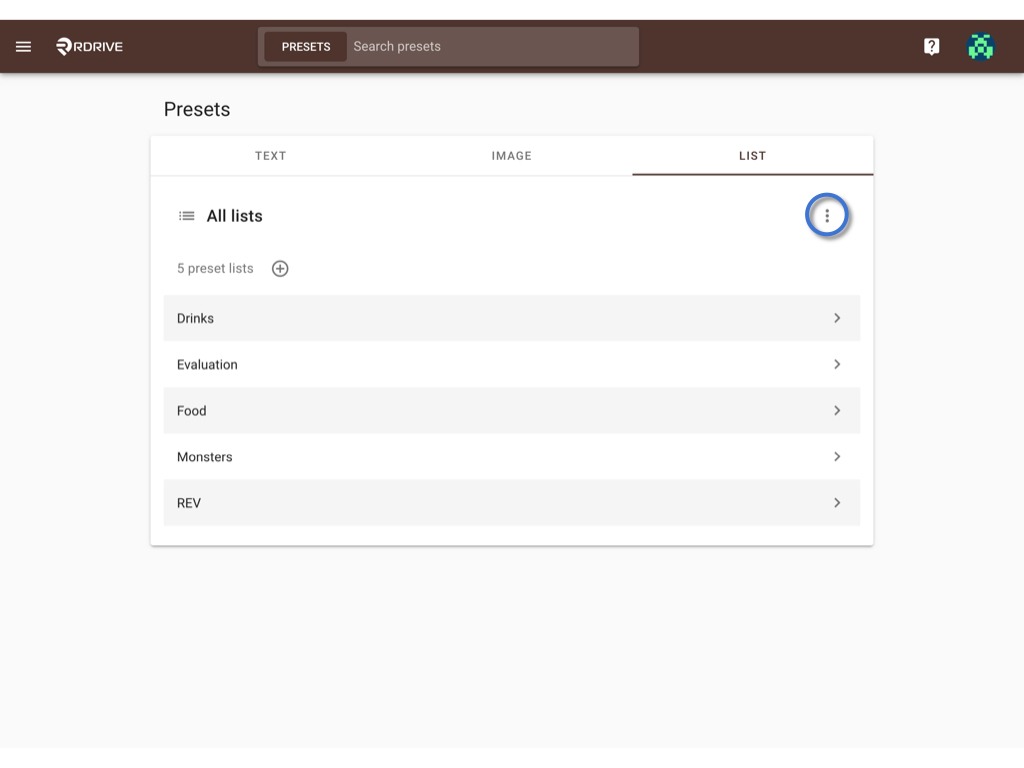
Click the ⋮ and select Edit


Edit directly in the pop-up window.
Click OK to save
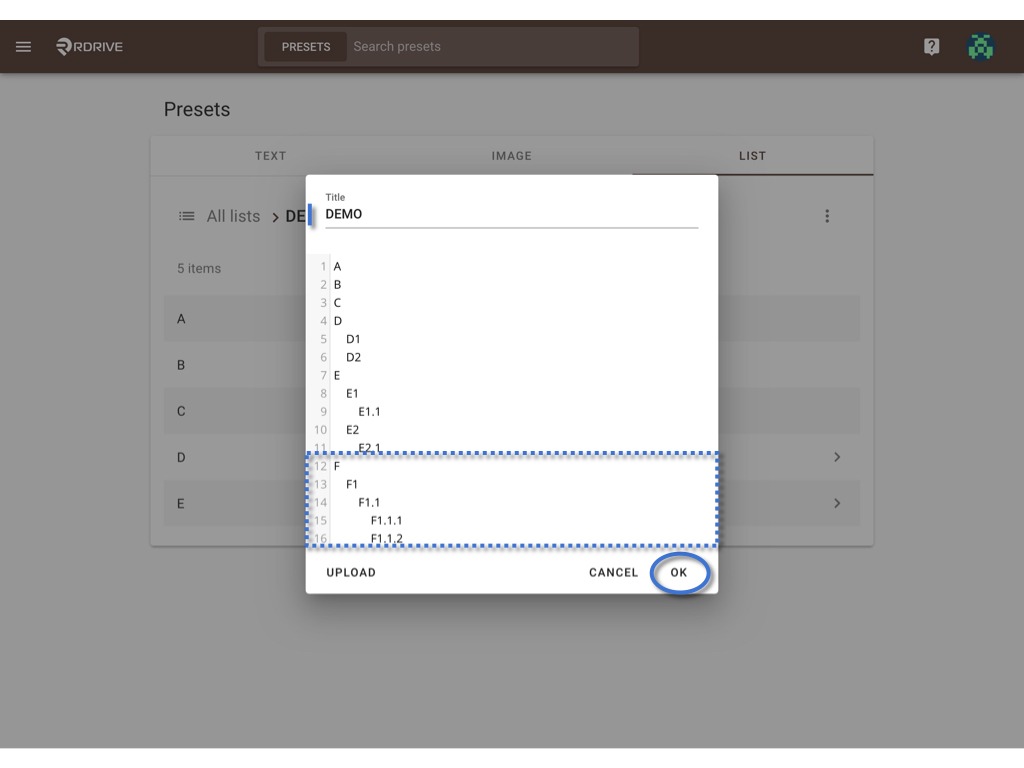
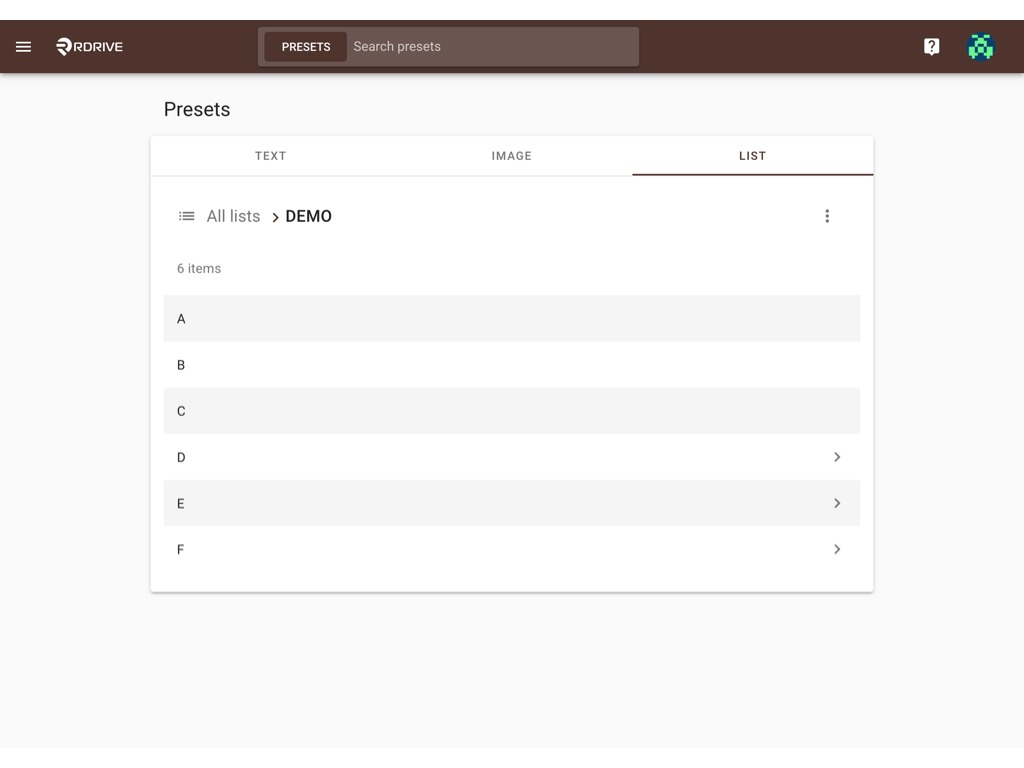
Updated.
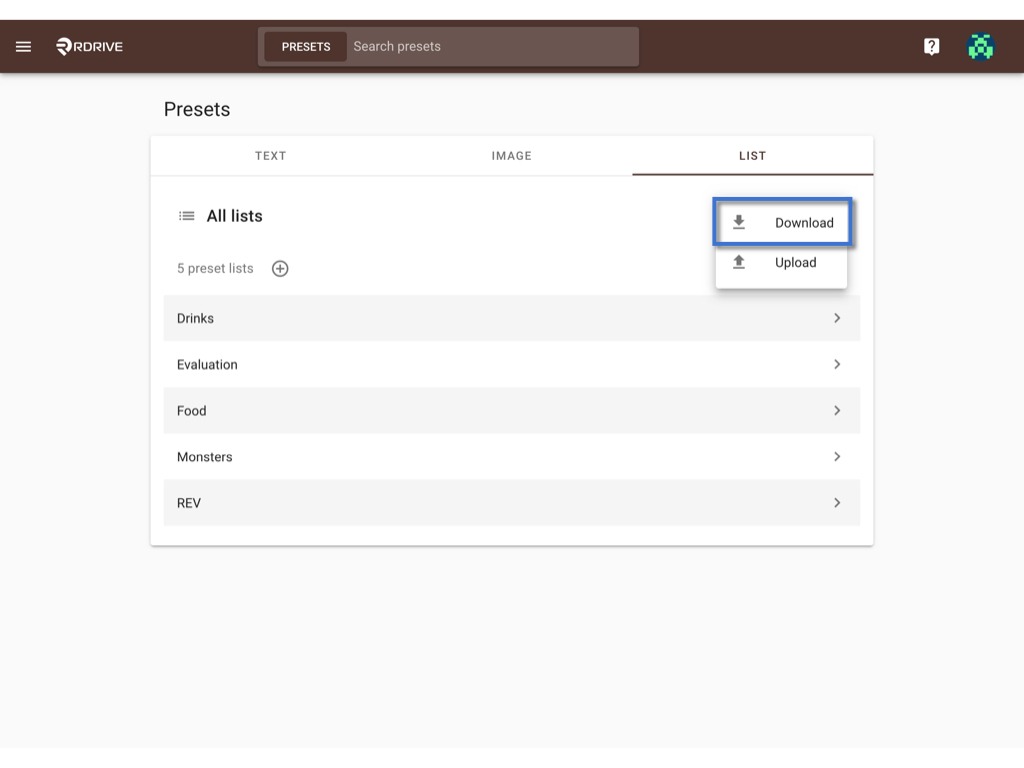
⬆ Re-upload the edited template to batch edit.
Click the ⋮ and select Download to download the template with the content of existing lists.

Edit the content at the template then Upload.
Was this article helpful?
That’s Great!
Thank you for your feedback
Sorry! We couldn't be helpful
Thank you for your feedback
Feedback sent
We appreciate your effort and will try to fix the article