Assignment delegates responsibility. You can assign to a team, and optionally to its users to indicate who is currently responsible for handling this object. Those who are assigned are called “assignees” and are responsible parties for the issue/defect.
Assigning to Team(s)
When assigning to a team, all members of the team will become participants. This means that they will all be able to see the form in question.
You can also set up subscription rules to automatically make the entire team or only certain members of the team become a subscriber whenever objects are assigned to the team.
Assigning to Team + Team User(s)
When assigning to a user in the team, that user will become a subscriber so they will be notified of this. When subscribing, a user will simultaneously become a participant, so they will always be able to read whatever they are subscribed to.
To assign a form to a user, you must have the appropriate permissions to do so.
The issue/defect/record status will determine whether or not you are able to assign the issue/defect/record. For purposes of this example, we will show you what you can expect to see should your permissions allow.
You will need "Assign" permission to perform the "Assign" action!
If you do not have the correct permissions this option will be unavailable to you and you should speak with your Project Administrators if this is the case.
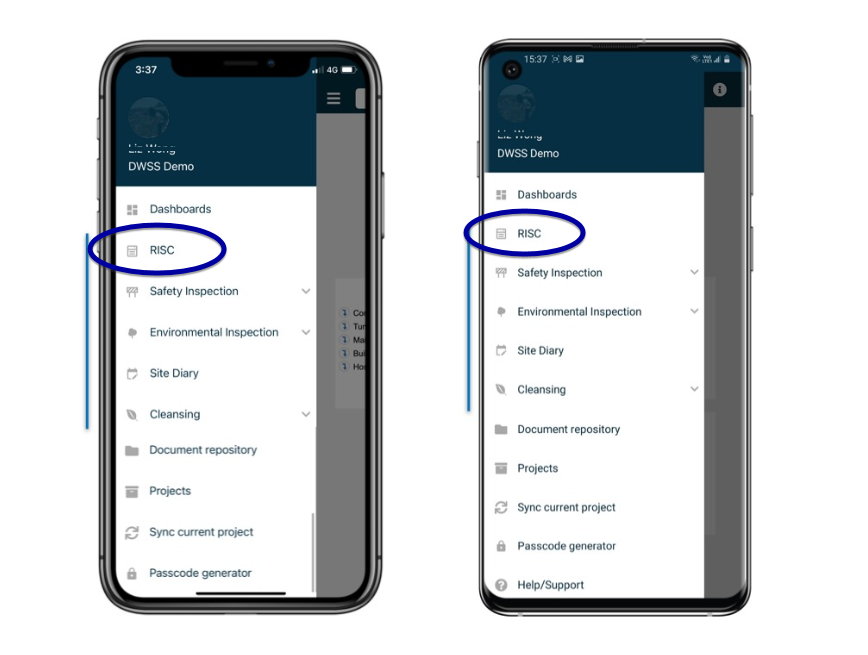
Here's how you can assign a form to other users using the RDrive app:
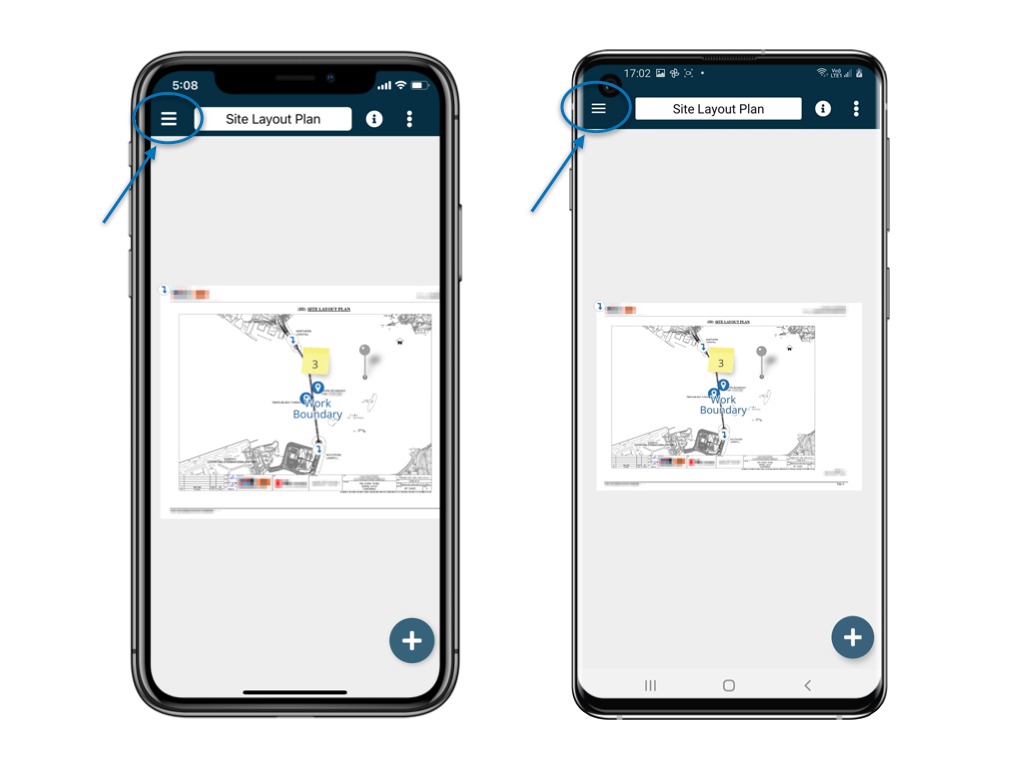
Unfold the Menu at the top of your screen as shown below

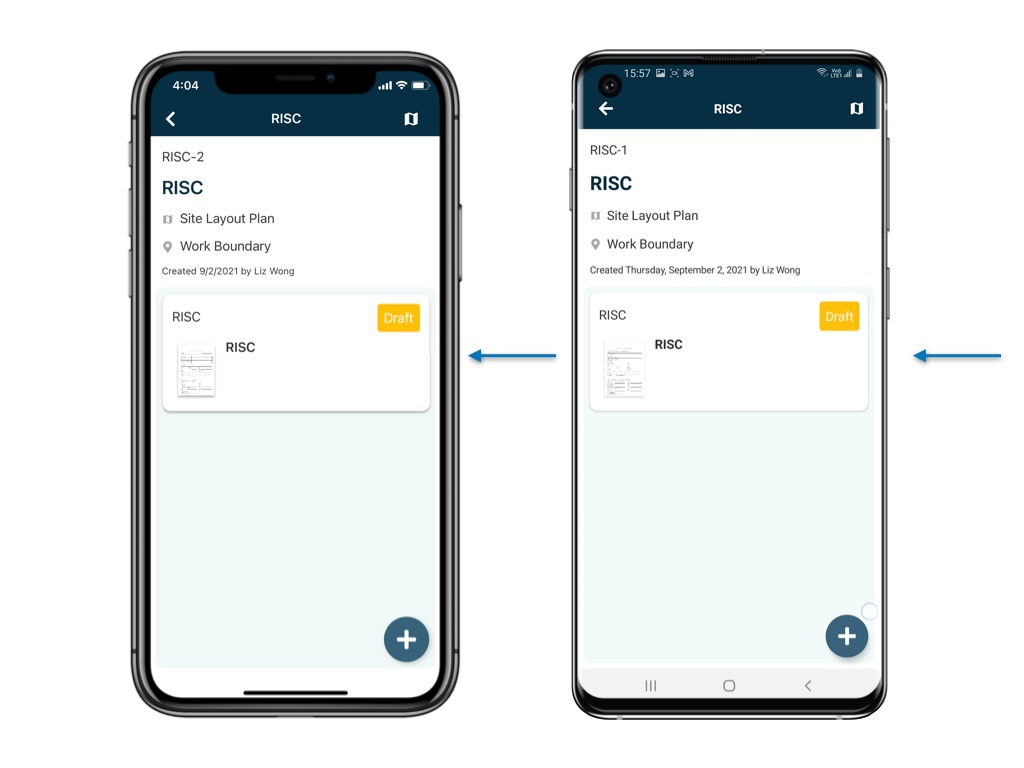
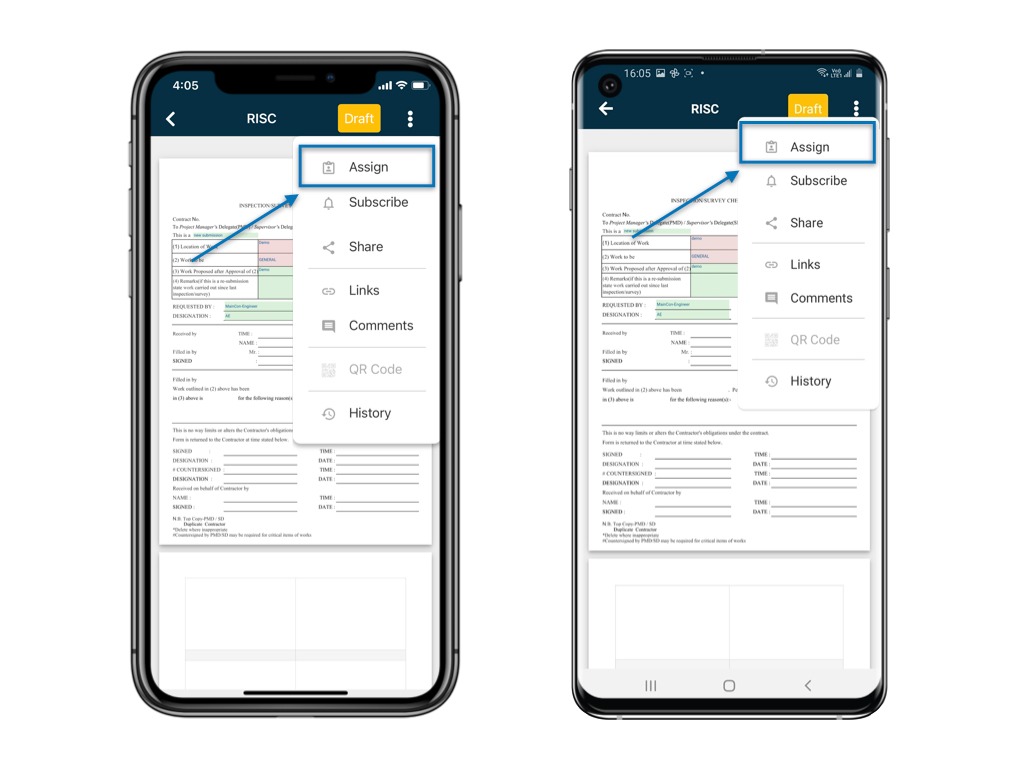
Select the relevant form to open up the form in the form viewer. When the menu has unfolded, click the 3 dots ⋮ to unfold the menu and select "Assign" as shown below.

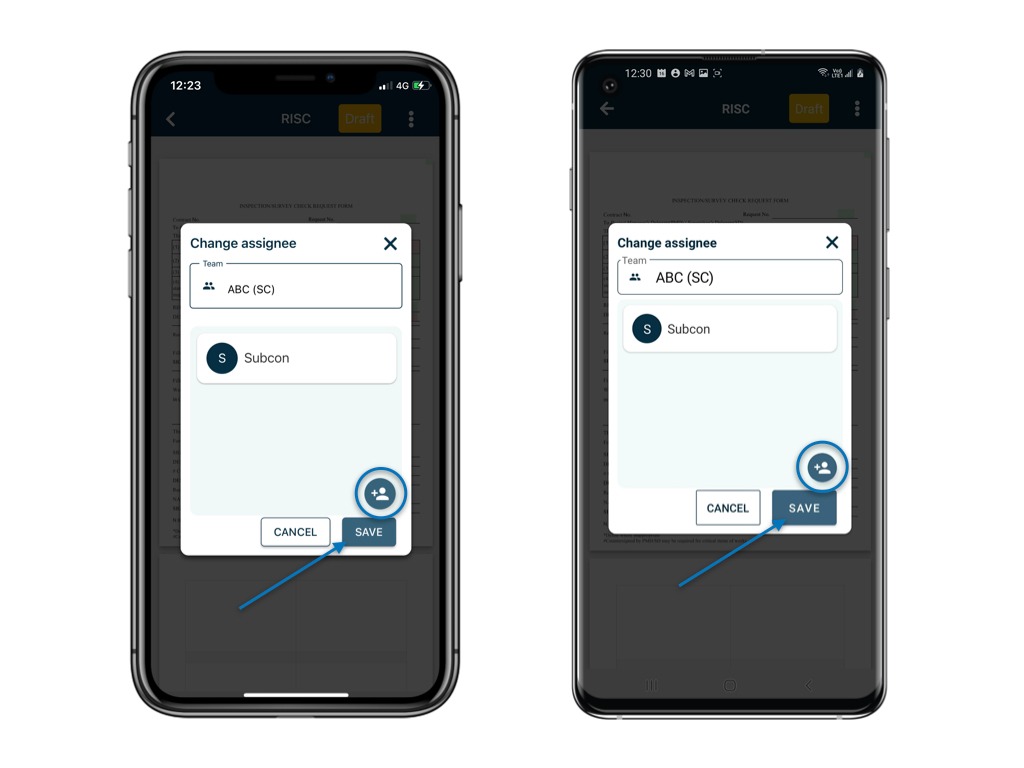
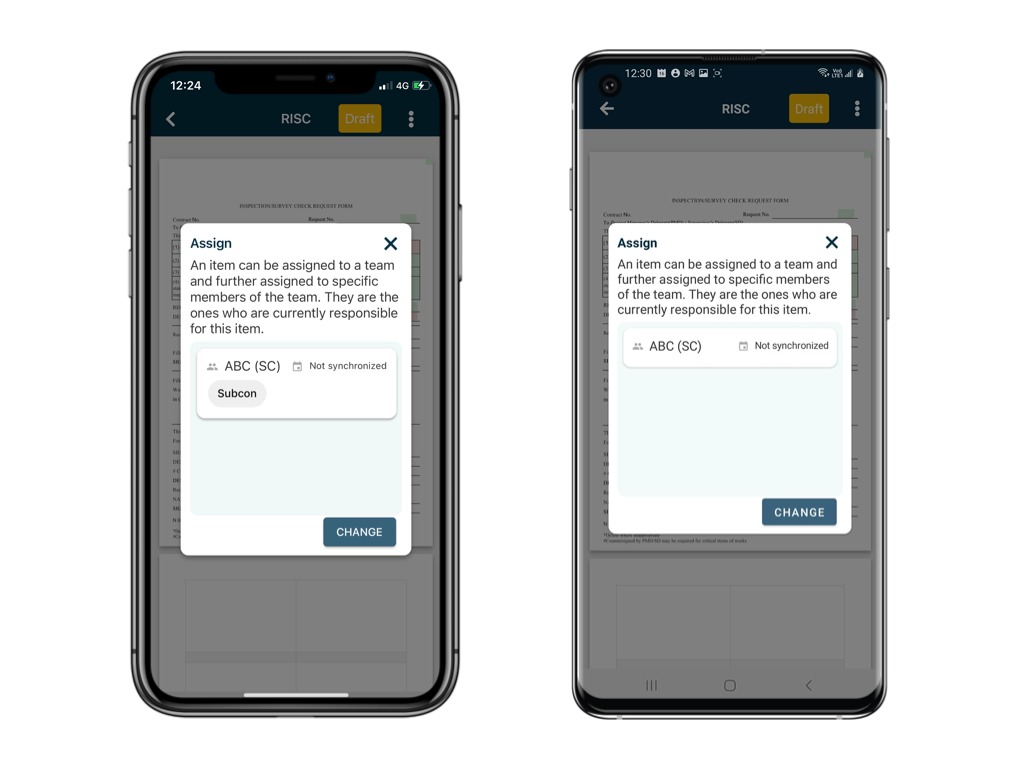
The current assignee (responsible party) will be shown on the assigned details within this window.
Press "CHANGE" to change assignee.

Once you have selected "CHANGE", the window will enlarge in the centre of your screen as shown below. Enter the appropriate Team/Team and User name to search for assignment.
Press "SAVE" to save and finish, your form is now assigned!

Made a mistake?
You can remove the user by swiping the user to the left as shown below.

⚠️ After completing onsite work, remember to synchronize. This ensures data backup and updates for your project team.
Was this article helpful?
That’s Great!
Thank you for your feedback
Sorry! We couldn't be helpful
Thank you for your feedback
Feedback sent
We appreciate your effort and will try to fix the article