Please access the Report layer by Company level ➡ Settings ➡ Categories ➡ Subcategories ➡ issue template ➡ issue wizard ➡ report layer to start.
We are able to edit the report content, copy and paste, delete and add report there.

Report content.
Let's start by building a report from the beginning.
Default and History reports will be created without any content once the template is created as default.
Press the ✚ button from the bottom right to add the data box.

In the pop-up dialogue, You may select a Field from the data layer, Text for free text, and Attribute of the issue/record by the below button.
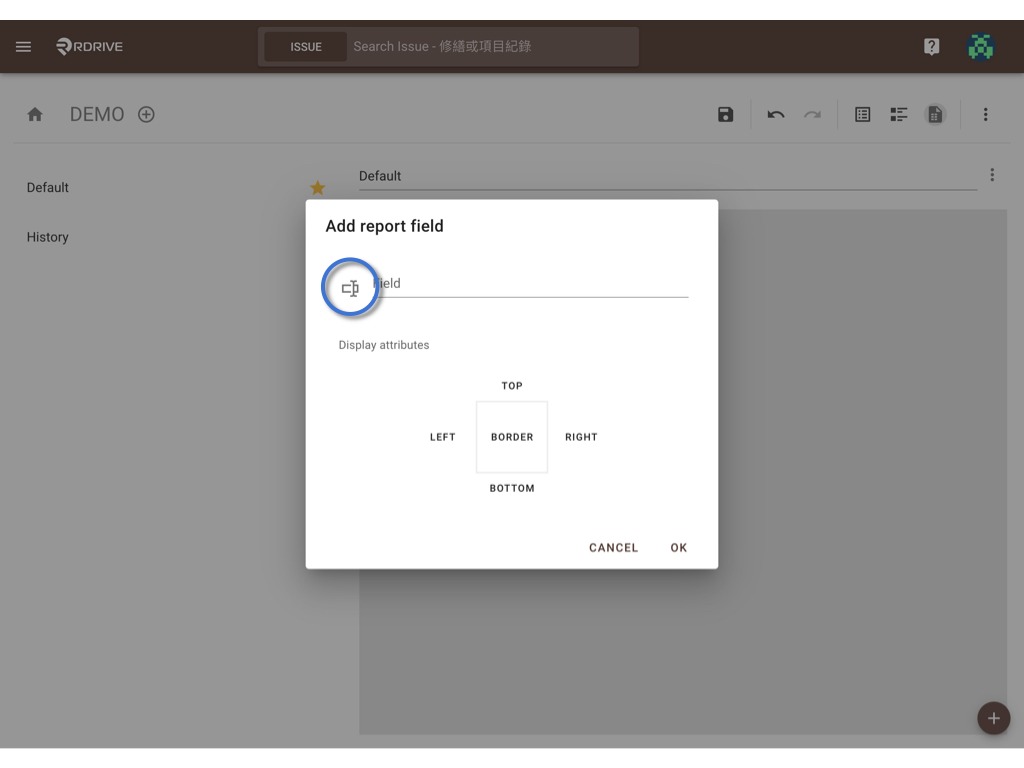

。Field
Fields you created from the data layer will appear for you to select.
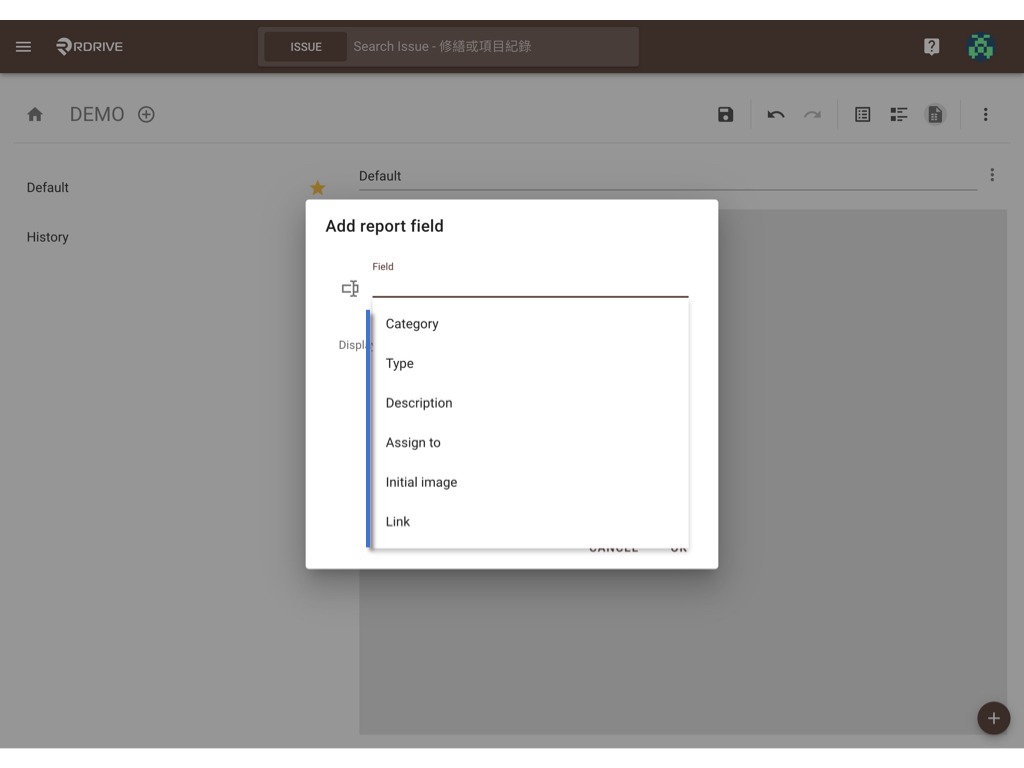
。Text
Free Text option, you may use for titling.

。Attribute
The information of the created issue/record on the project, we have Plan viewer, Issue status, Drawing, Location, and Creation (created by and datetime).
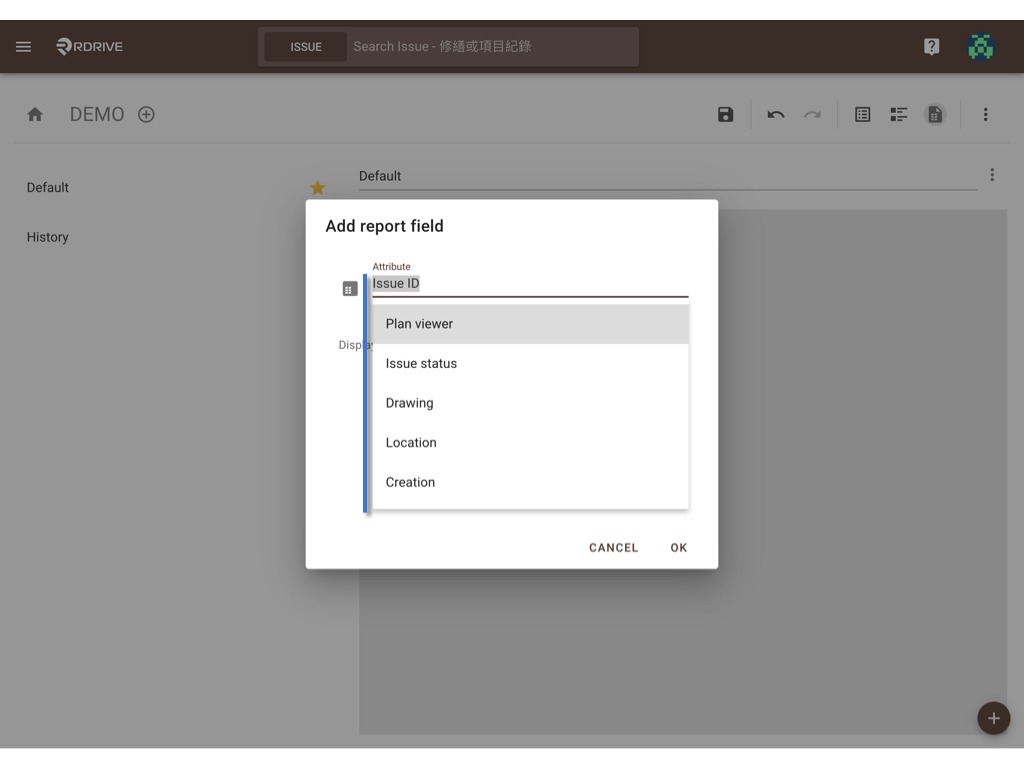
You may assign border as well.
OK to confirm.
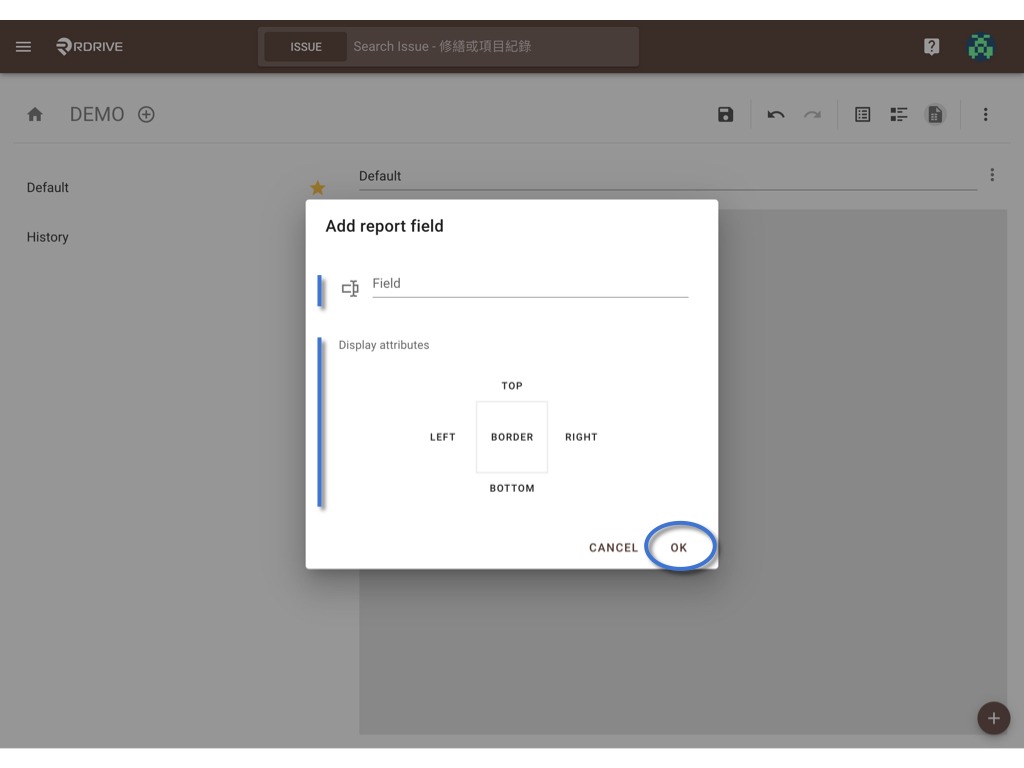
Below sample was added all information needed before adjust.
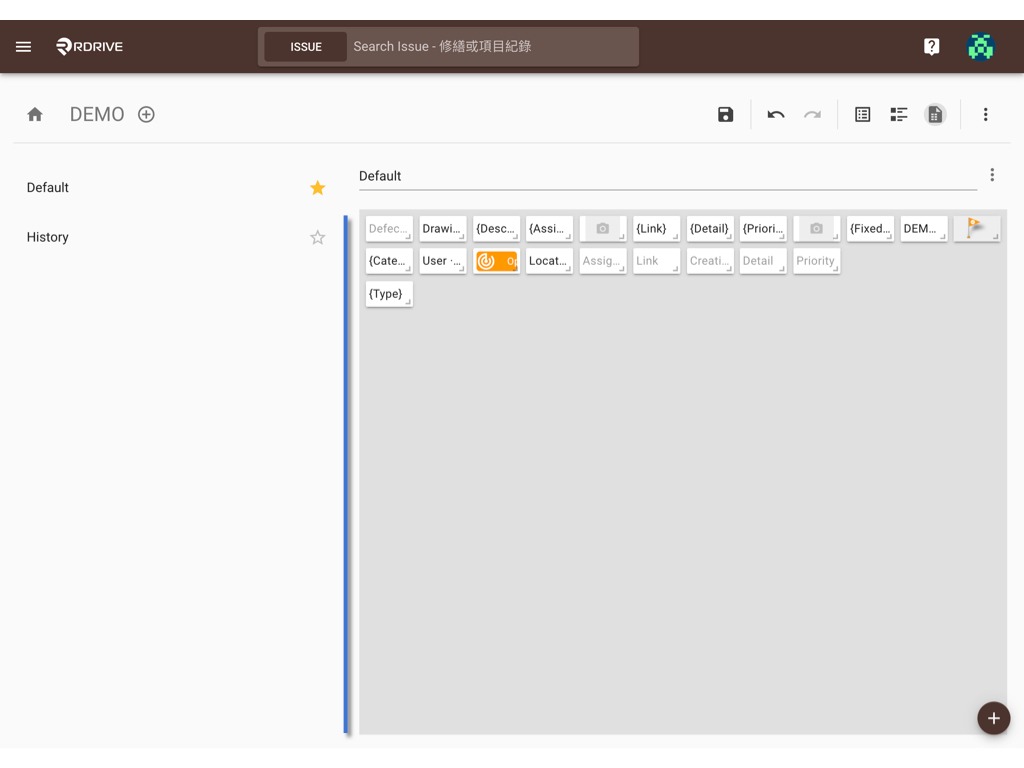
Time to adjust the information boxes.
We can drag to resize and move the box to design report layout for each issue/record.

Done.

Remember SAVE (or ⌘/Ctrl S).
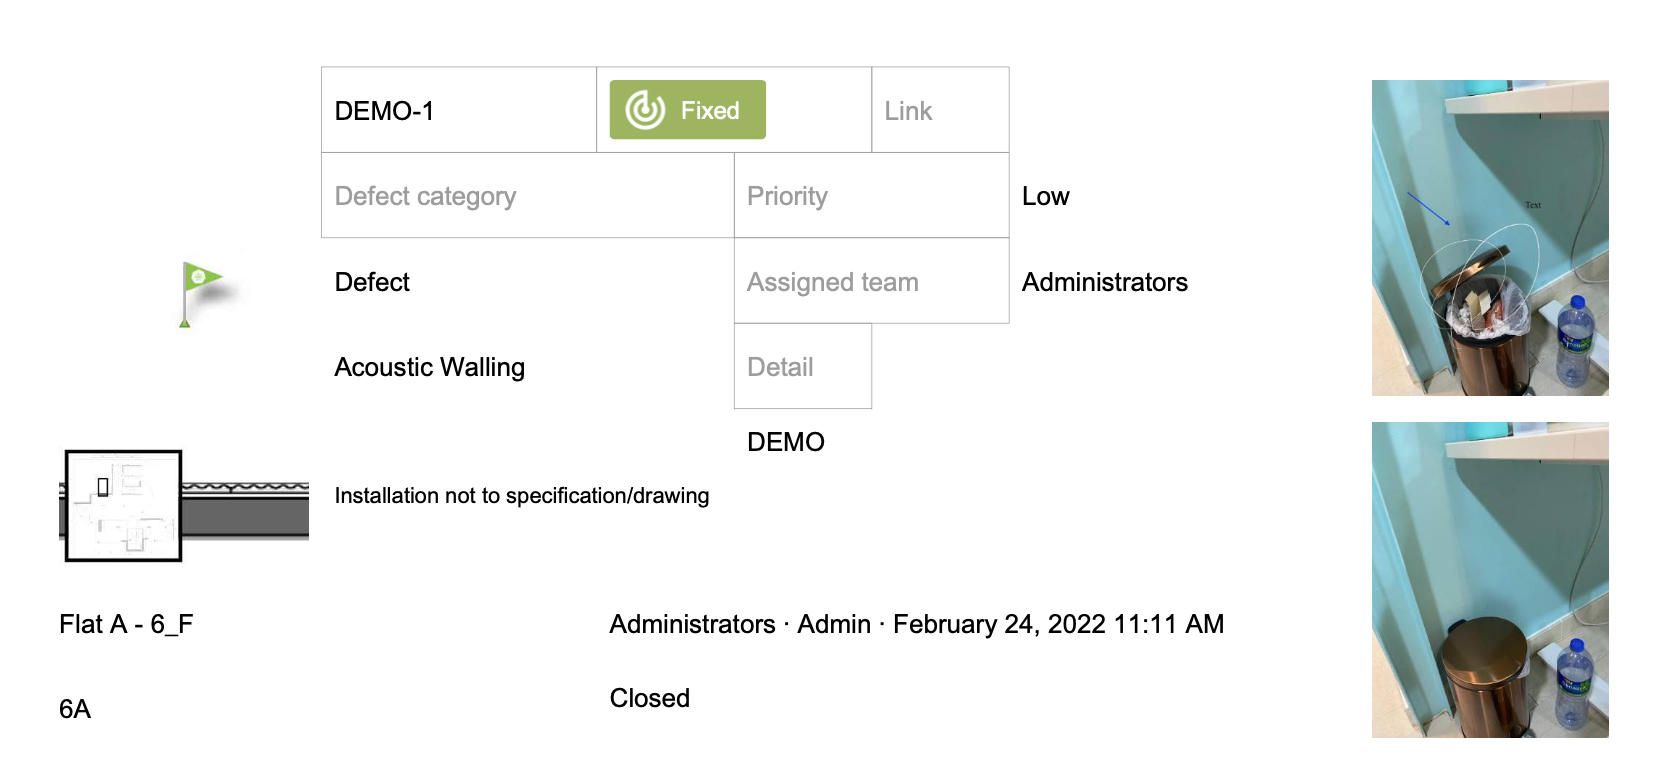
Here is what it looks like, I'm pretty sure you can do it better than that, right?
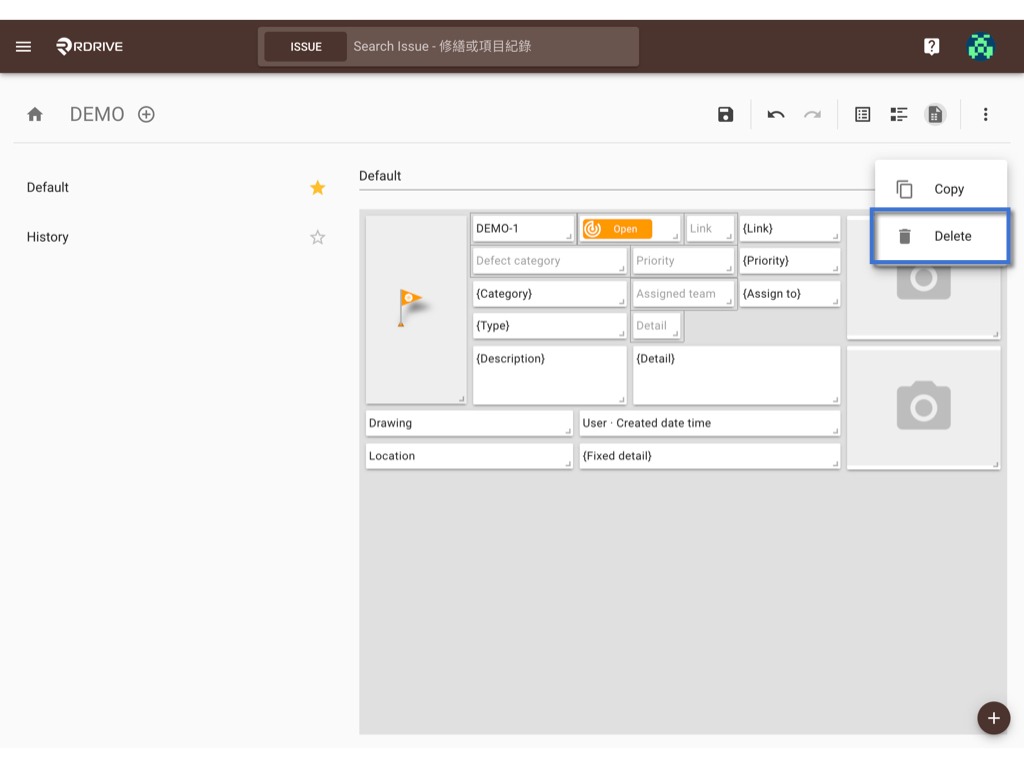
COPY and PASTE
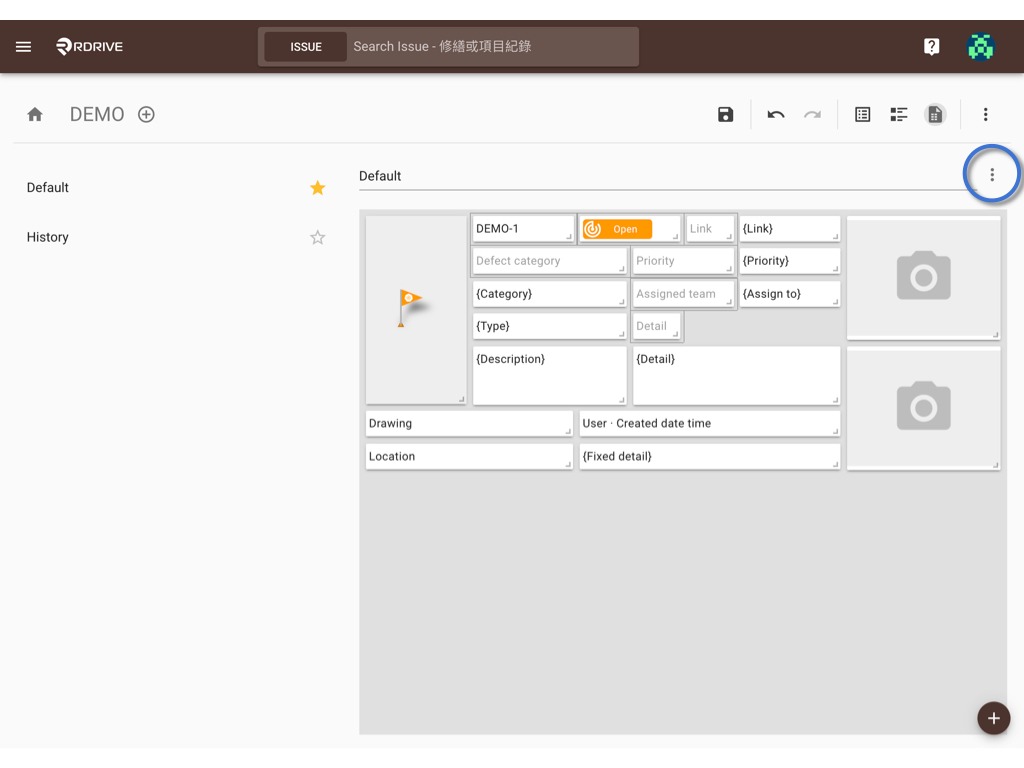
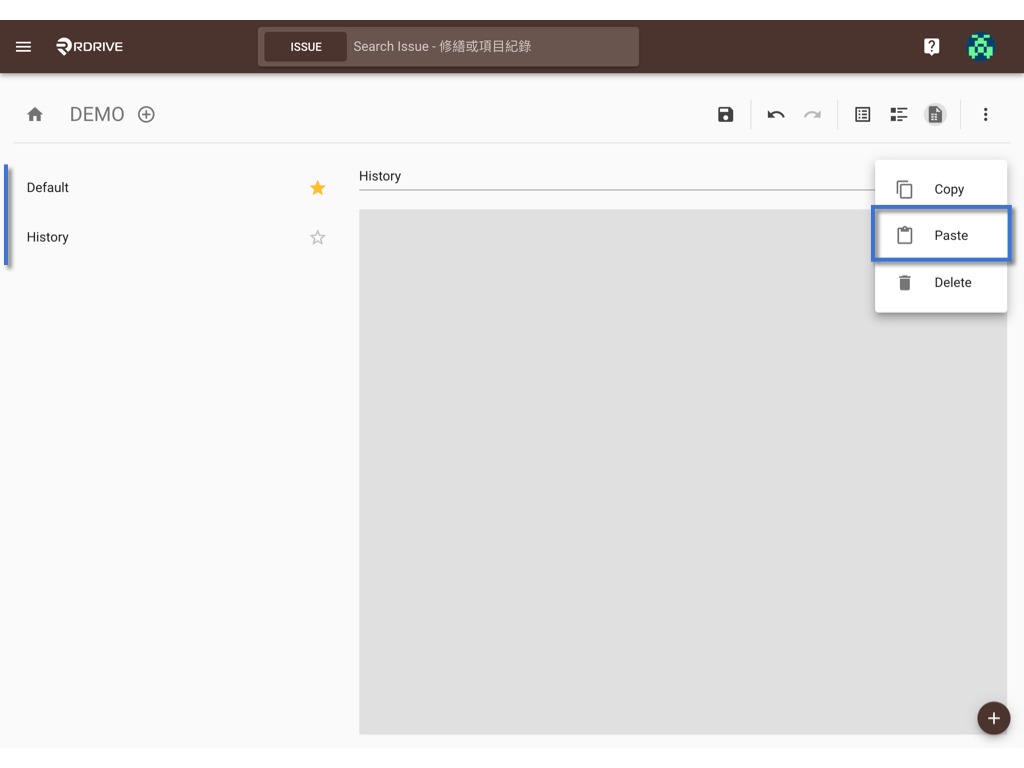
Report layout also allow you to copy and paste from report to report.
You may see it from the ⋮ button.

DELETE
and delete.
ADD
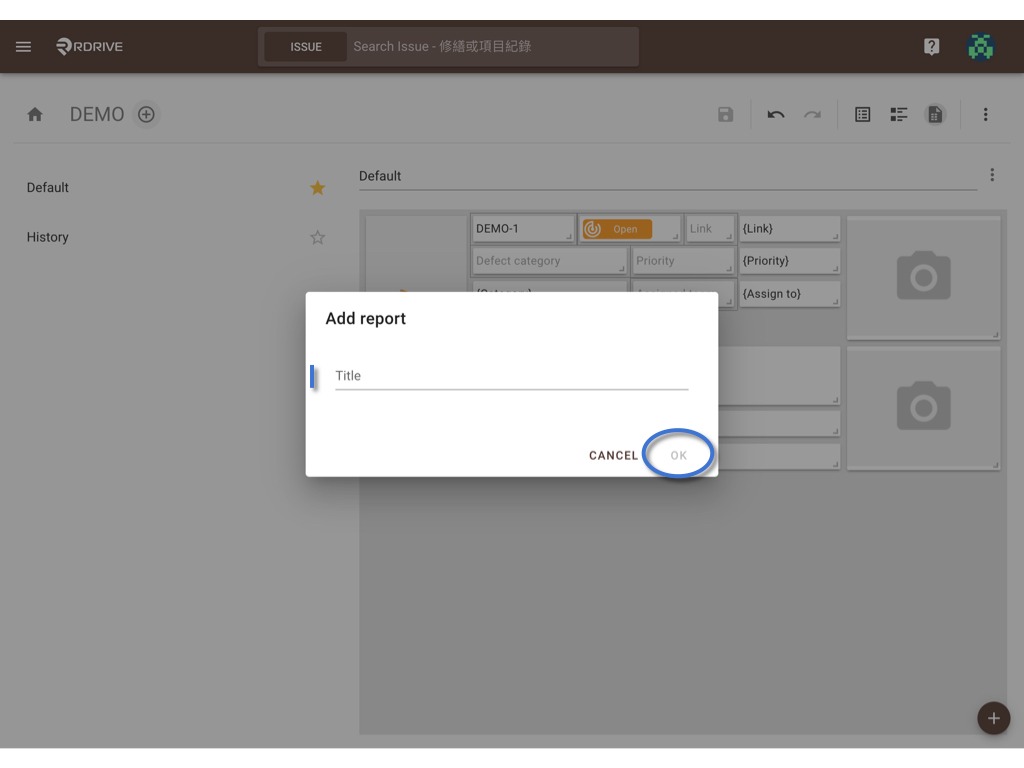
To add more report template, please click the ⊕ button and enter the title, OK to create.

Was this article helpful?
That’s Great!
Thank you for your feedback
Sorry! We couldn't be helpful
Thank you for your feedback
Feedback sent
We appreciate your effort and will try to fix the article