This template helps you to capture issues/records via mobile app and generate issue reports in a click.
Issue/record normally will work with the preset list, is used to speed up the process of capturing defects/record and facilitate subsequent data analysis. A hierarchical list can help to look for a relevant description efficiently through layers of issue/record type.
Log in to Company Area. (Only the company admin can access this page.)
Click Settings to access the Categories page, select Category and Subcategory to add the template.
Click here to know how to add a category and subcategory.


To add a process template.
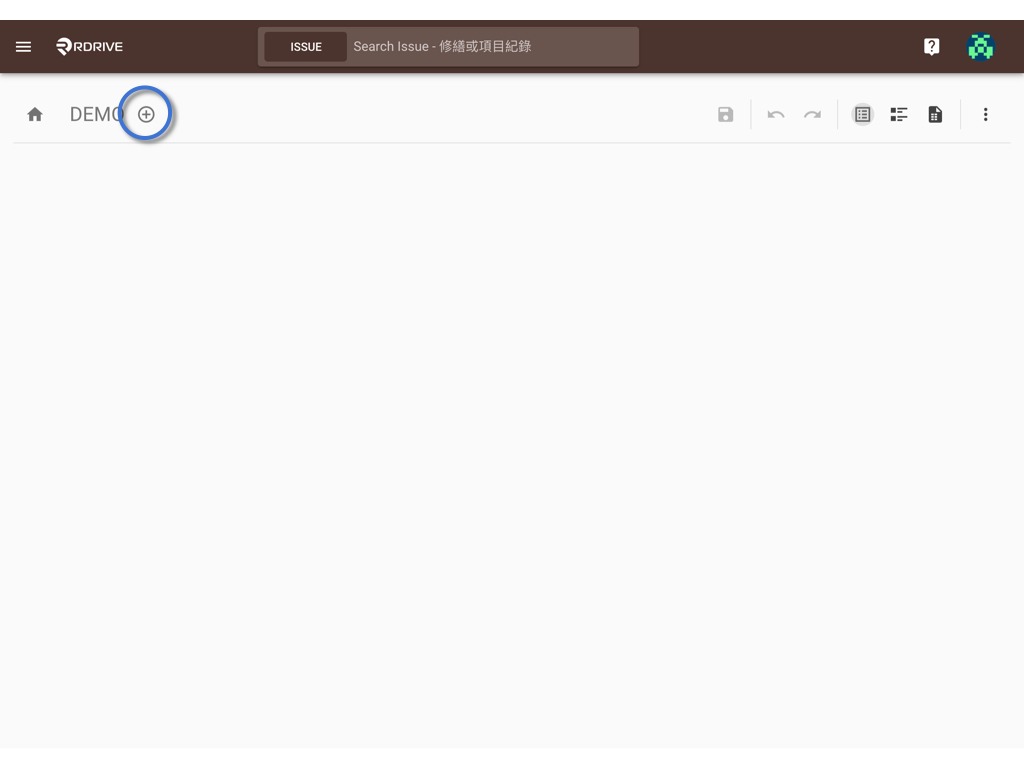
You can create a new template by clicking the ⊕ button.

Enter the Issue template code and title, click OK.
UPLOAD if you have a downloaded file.

Issue template created!! Now we can start to add content to the template;)
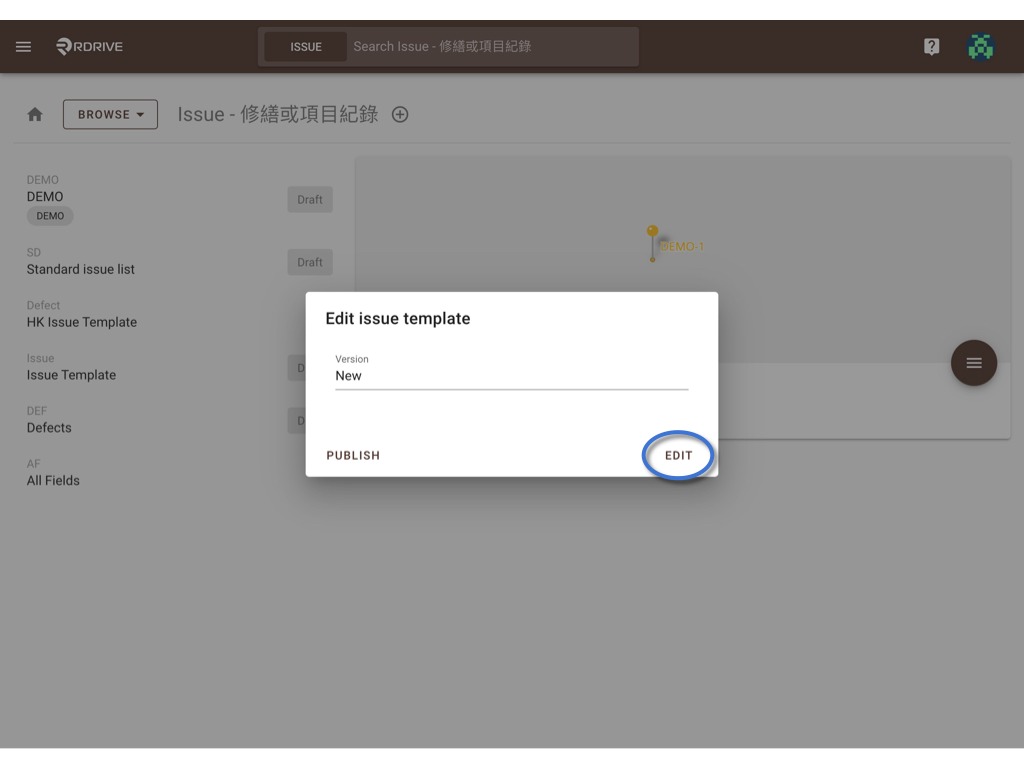
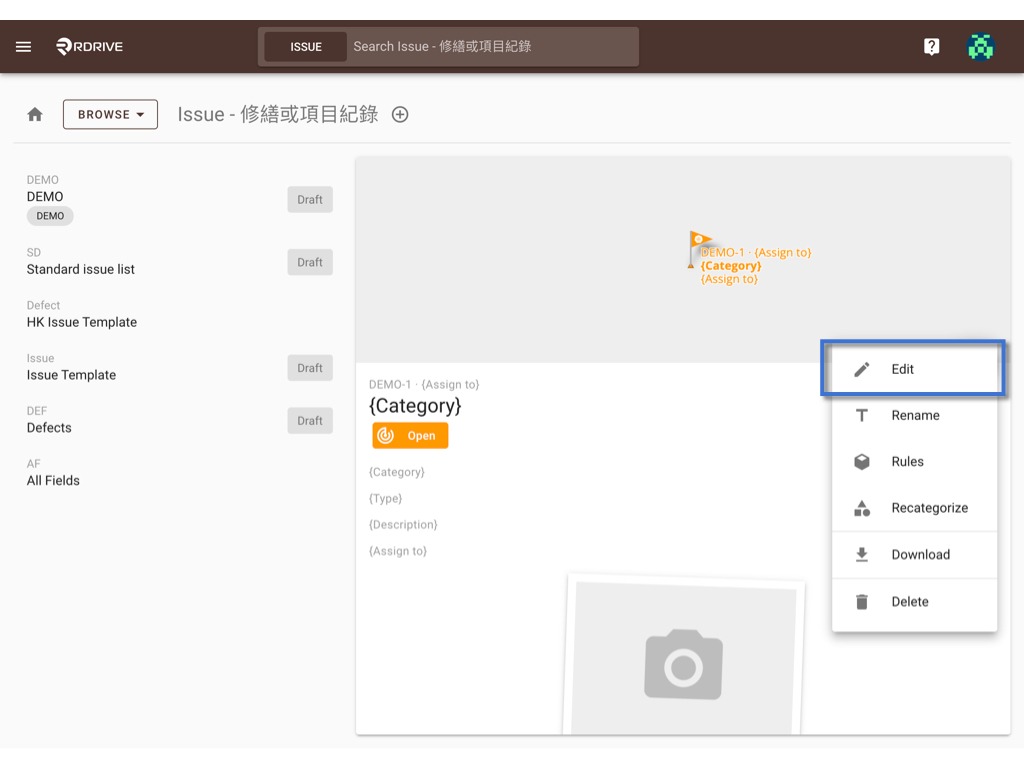
Click the ≡ button to expand the menu.
Select Edit.


Click EDIT to access the issue wizard.
On the wizard page, you may add & edit the
etc.
Data layer
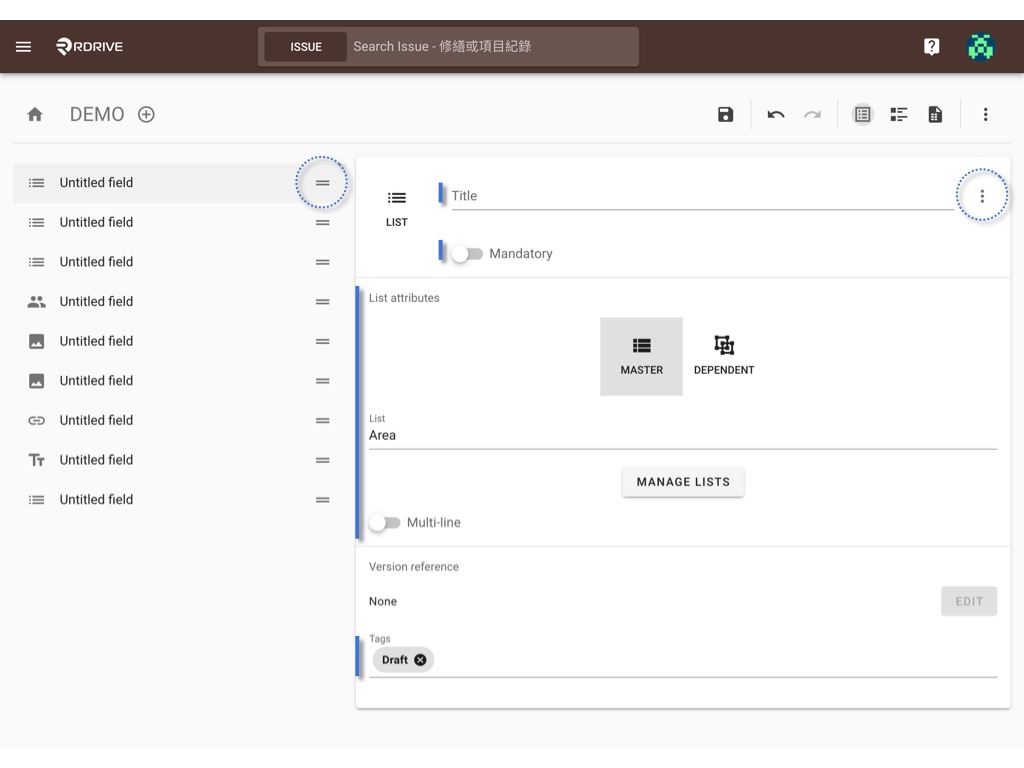
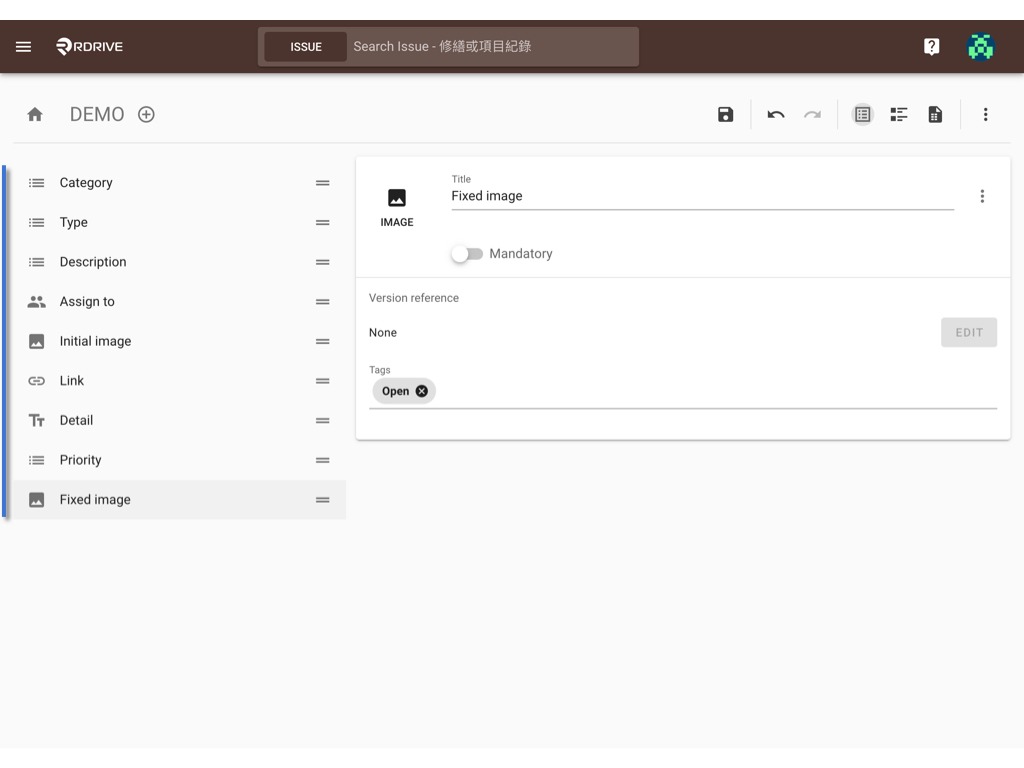
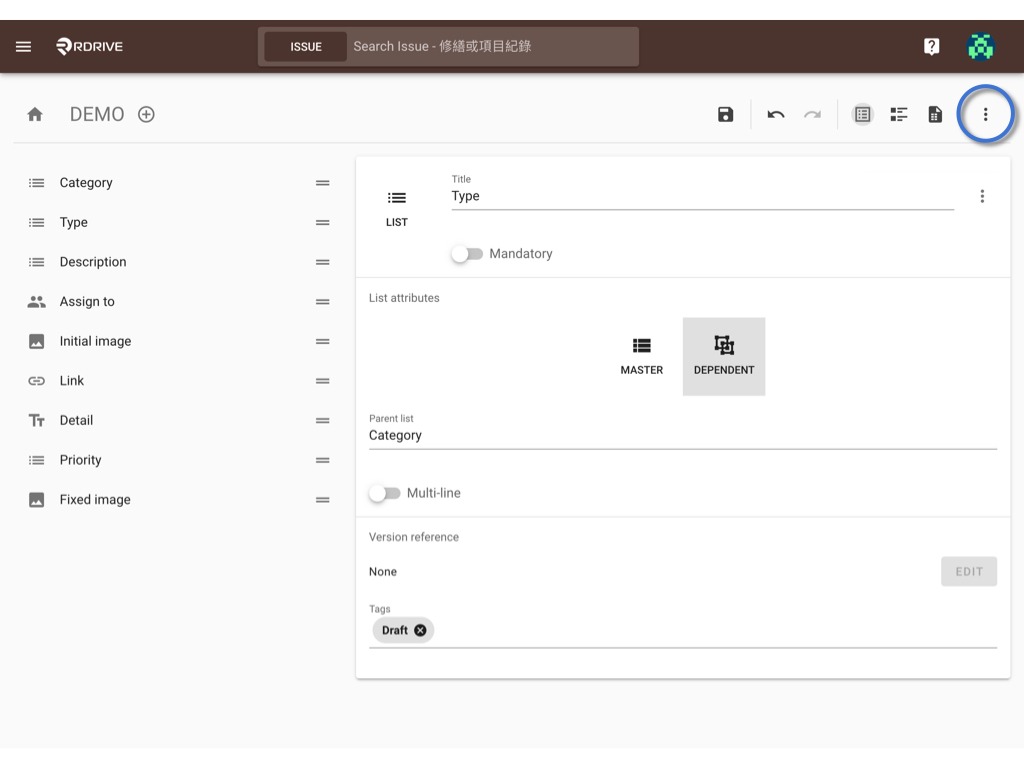
First of all, you need to create fields to collect data.
Please click the ⊕ button to add the field and select the correct data type one by one.

Remember to name the fields title, set attributes, set mandatory, and add the tag(s).
To know more, please check the articles Field Properties.
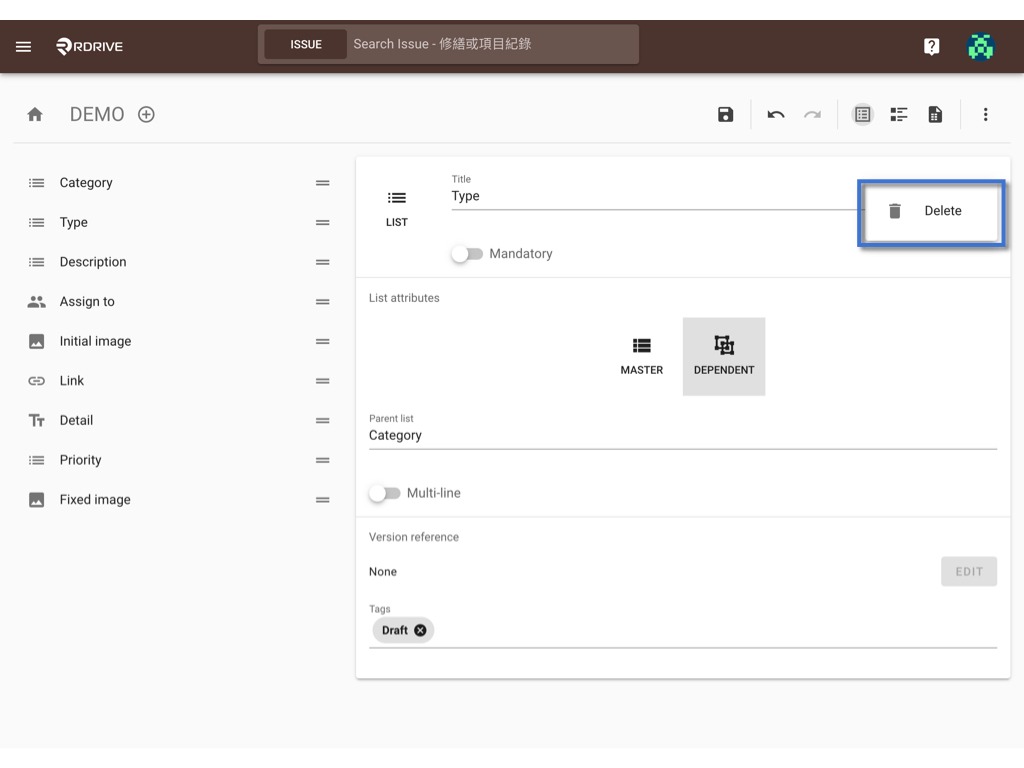
To arrange, you can drag and drop the = to reordering, and click ⋮ then Delete to remove the field.
Done.
We are ready for the next step!
Display layer
Click the button below to access the display layer page.

On this page, you are able to set up the List display, Plan viewer layout, and Details layout.
List
Select the field data you wish to display as a title, subtitle, and thumbnail on the finder.
It would be an option when the user changes the display settings.

Fields you created from the data layer will appear for you to select.

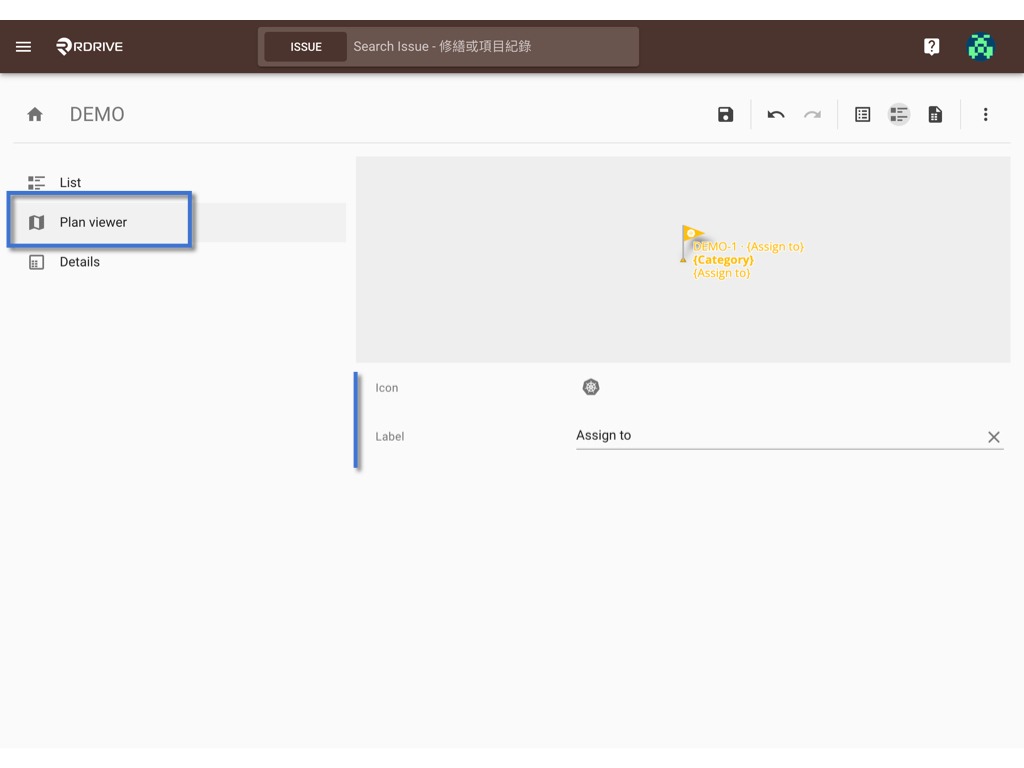
Plan viewer
You may set up an Icon and label for this template, It will display with the pin on the plan viewer at the project.
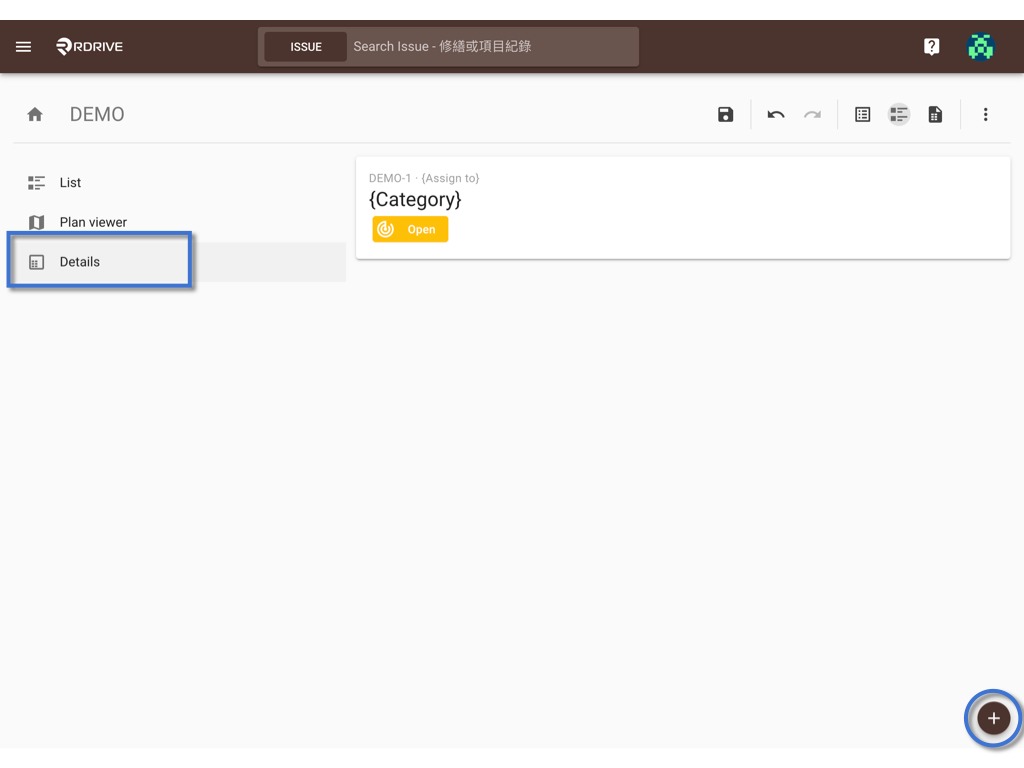
Details
Here is the most important part of the page! Details layout!
You need to select which fields have to display as details of that issue/record on the finder and plan viewer at the project.
Click the ✚ button from the bottom right to add the display field.
In the pop-up dialogue, You may select a Field from the data layer, Text for free text, and Attribute of the issue/record by the below button.


。Field
Fields you created from the data layer will appear for you to select.
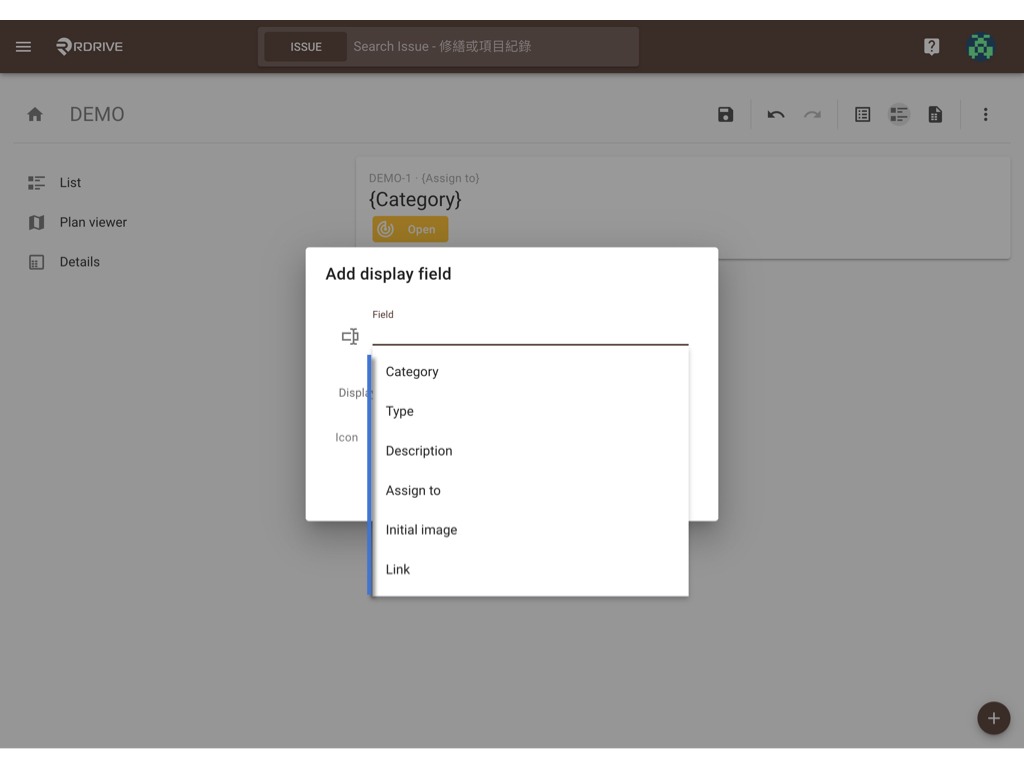
。Text
Free Text option, you may use for standard description, titling, additional information for this template, etc.

。Attribute
The information of the created issue/record on the project, we have Drawing, Location, and Creation (created by and datetime).
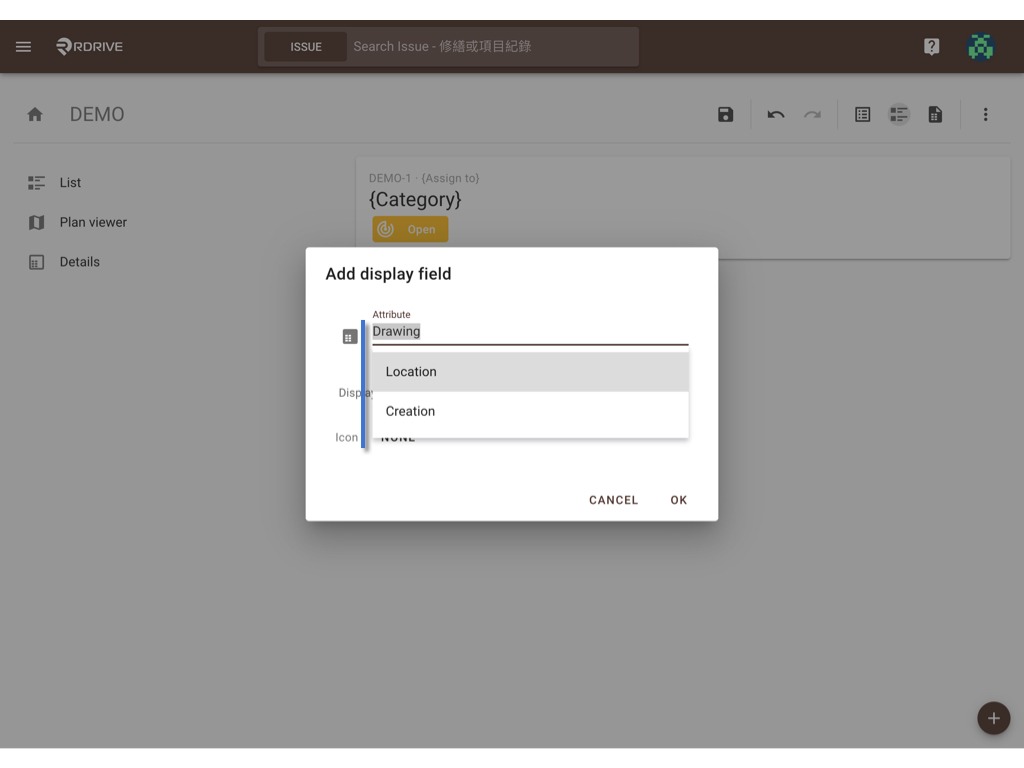
You may assign an icon for this display field as well.
OK to confirm.

Please design the details layout one by one, you may click ? to remove and drag and drop the = to reordering.

Completed!
Now we may go to the report layer for the report layout setting.
Report layer
Click the button below to access the report layer page.

Default and History reports will be created without any content by default.
Now is the time to design the report layout based on the fields you created.
Press the ✚ button from the bottom right to add the data box!!
Check the article Design an Issue/record report template to learn more about this.

Below is the sample for your reference.

Done! ??????
Last but not least, let's go to set up the final necessary step, Status!
Issue Statuses
Click the Issue statuses option (or ⌘/Ctrl 5) from the ⋮ button to bring up the status dialogue for the company admin to manage the statuses for this template.

Will have 3 statuses by default, 1 Draft, 1 Open, and 1 Closed.
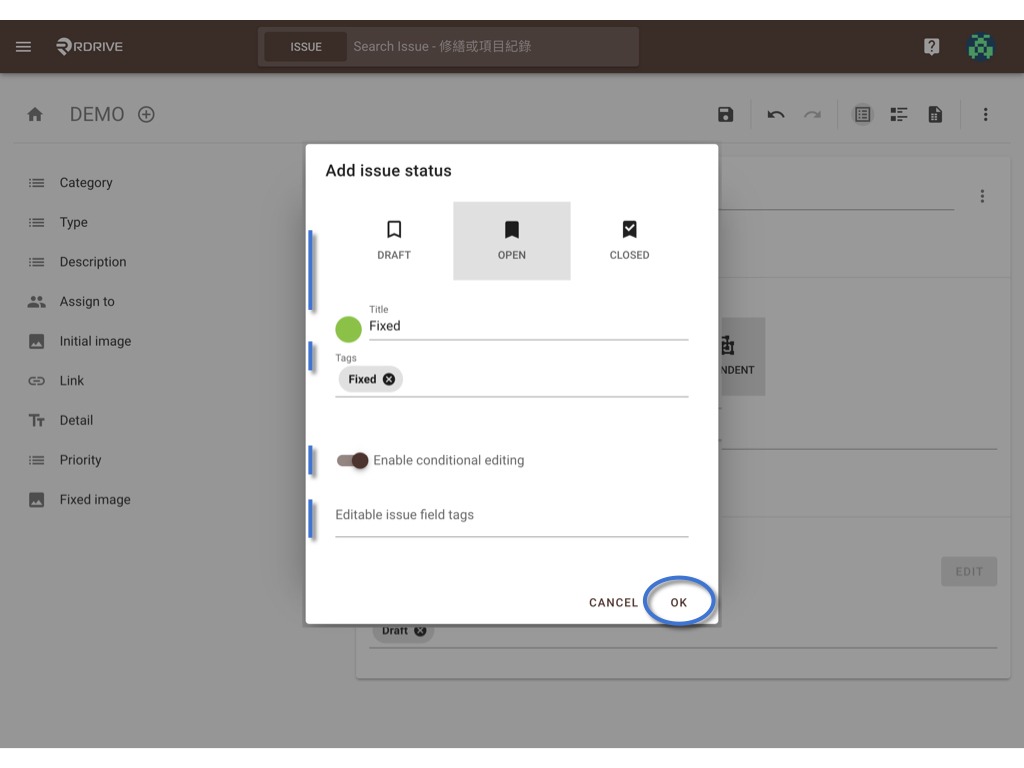
You may click the ADD button on the bottom right corner to add a new status.

Select status stage, choose a color to present this status, enter the title and status tag(s), and the conditional editing setting.

OK to confirm.
*Tips: Enabled the conditional editing without any field tag is mean it is not editable on this status.
and, you may edit an existing status as you fit.

OK to save.
or DELETE to delete the useless status.

here is the sample for your reference.

Done!
You may click outside of the dialogue to exit.
ALL SET!!
Remember to SAVE after all change.
PUBLISH
Time to publish it for project use, please click the ? button to return to the subcategory page to continue.

Click the ≡ button to expand the menu of the template.
Select Edit.

PUBLISH if it is ready to use ?, it will create a version of this template.

Enter a message to remind you what this release is about.
OK to confirm.

Congratulations! You are able to add a profile of this template at the project level now.
Was this article helpful?
That’s Great!
Thank you for your feedback
Sorry! We couldn't be helpful
Thank you for your feedback
Feedback sent
We appreciate your effort and will try to fix the article