The users can auto-fill multiple fields by scanning the QR code via the APP when the QR code import template is set.
(not applicable to image, checkbox, pass/fail/NA, signature field types) Let me show you how to add the import template.
First, log in to Company Area.
Only the company admin can access this page.Unfold the menu, click Settings, and select Categories.
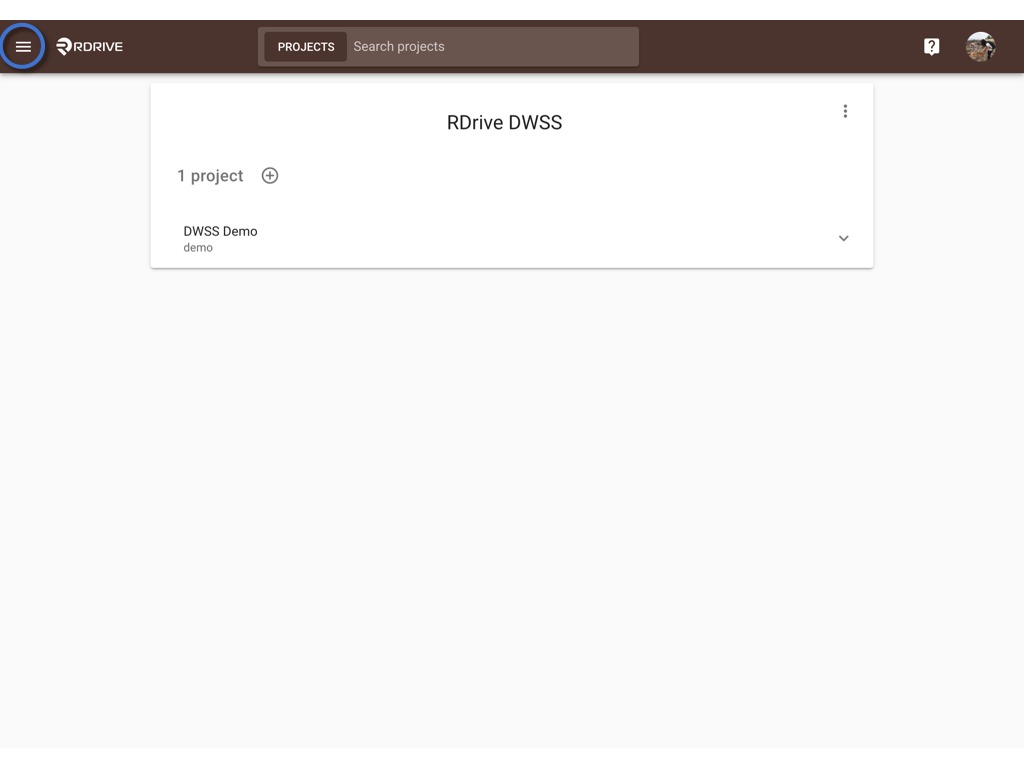

Click into the form wizard which you wanna add the QR code import template, by Category ➡ Subcategory ➡ Issue ➡ Issue wizard.

Choose an issue template, click the ≡ button to expand the menu.
Select Edit.


Select the latest version, click EDIT.
⚠️ Attention: Unless only editing tags or QRcode import template, you have to create new version to edit a form template and publish it as a new version after being changed.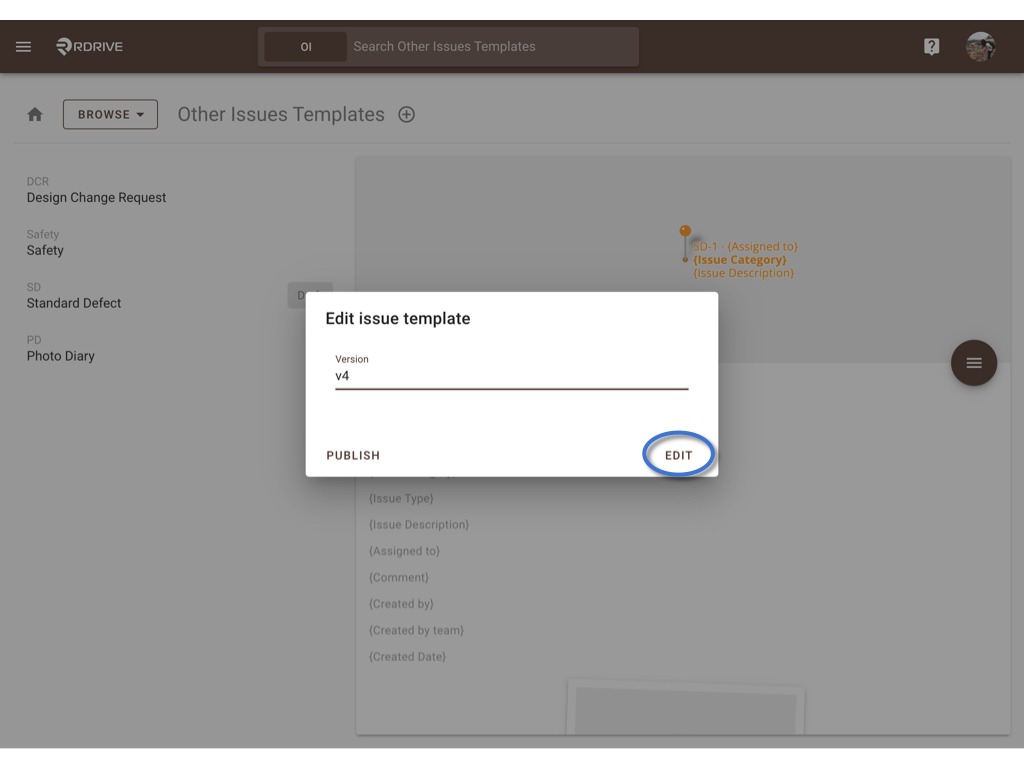
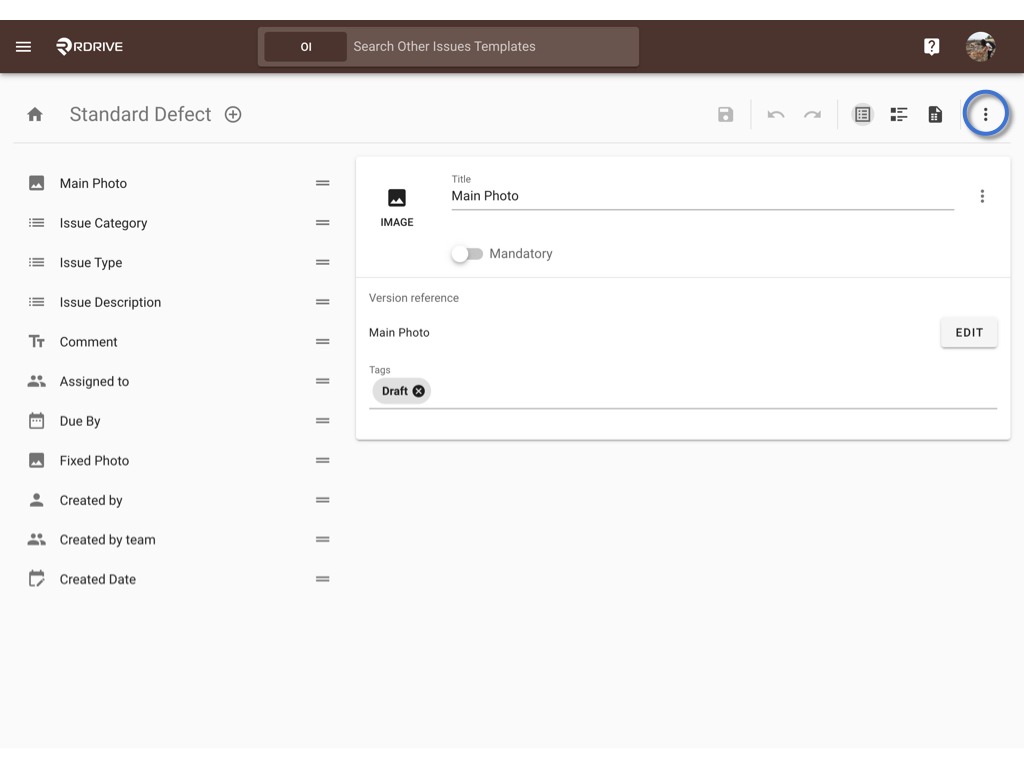
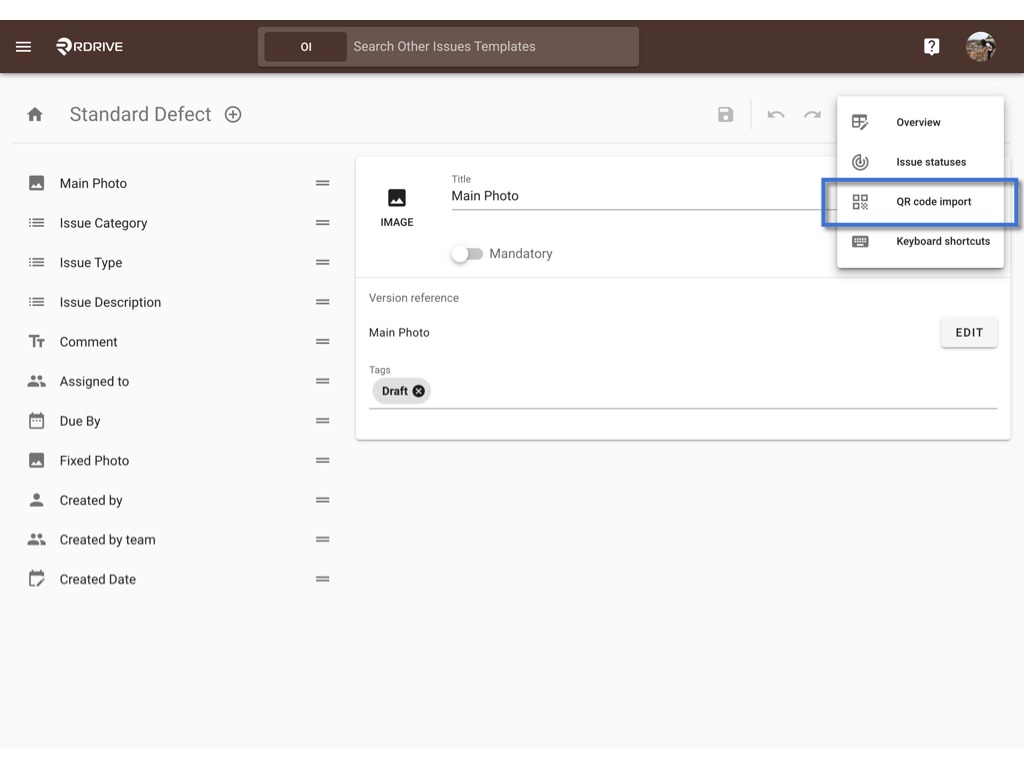
Click the ⋮ and select QR code import.
Press ADD
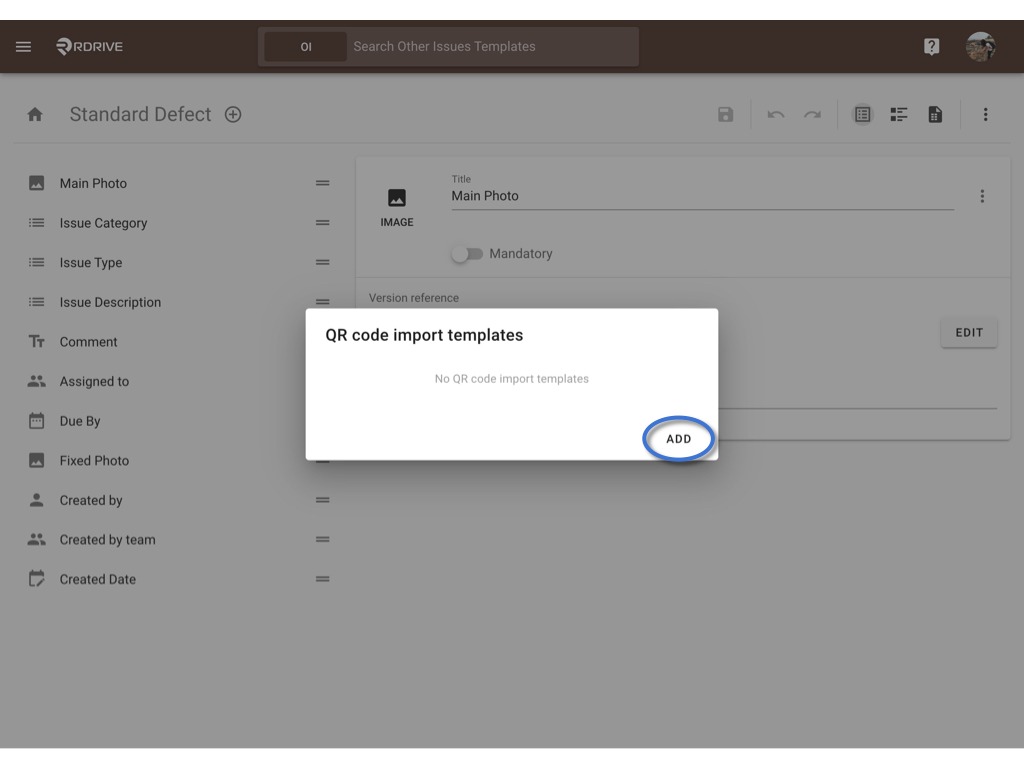
To add a QR code import template, you may
- Choose one of three data types to design the mapping.
- Upload a QR code based on the content and map with the data type.
Choose one of three data types to design the mapping.
There would have a pattern below on each data type for reference.

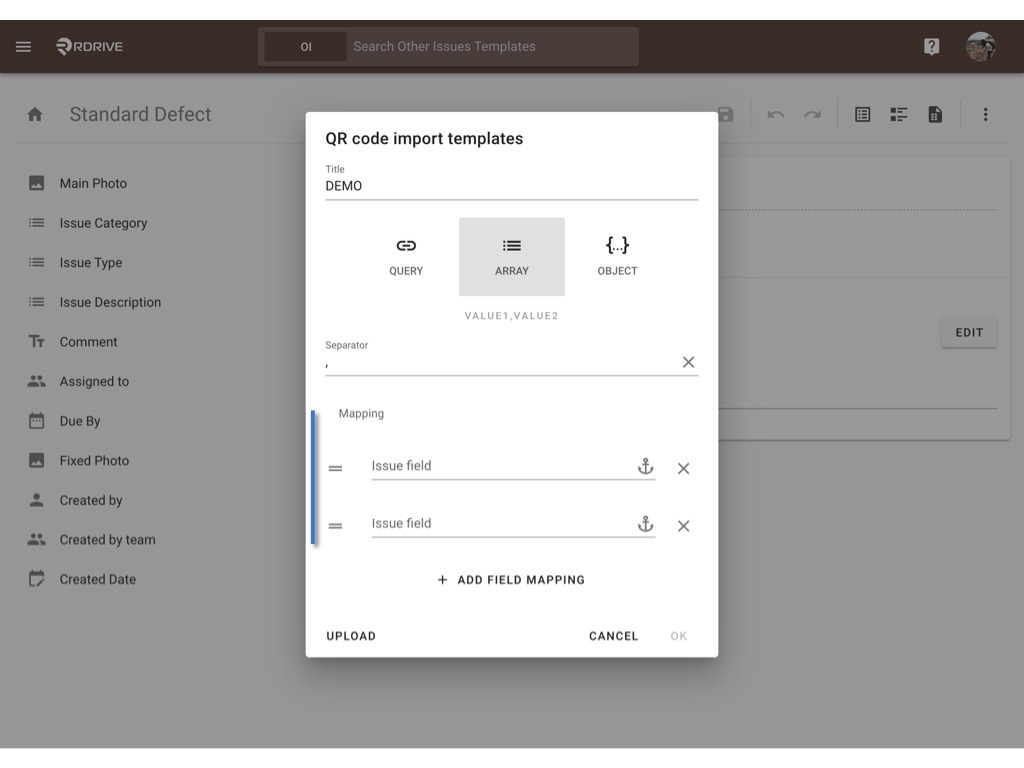
Below will use ARRAY to add a template as an example.
Enter Title, choose the data type.

To create an ARRAY template, a separator is a key for mapping.
Input the separator and add number of fields for mapping as you need.
Click on the Issue field to start mapping.

Select the related field one by one to map.
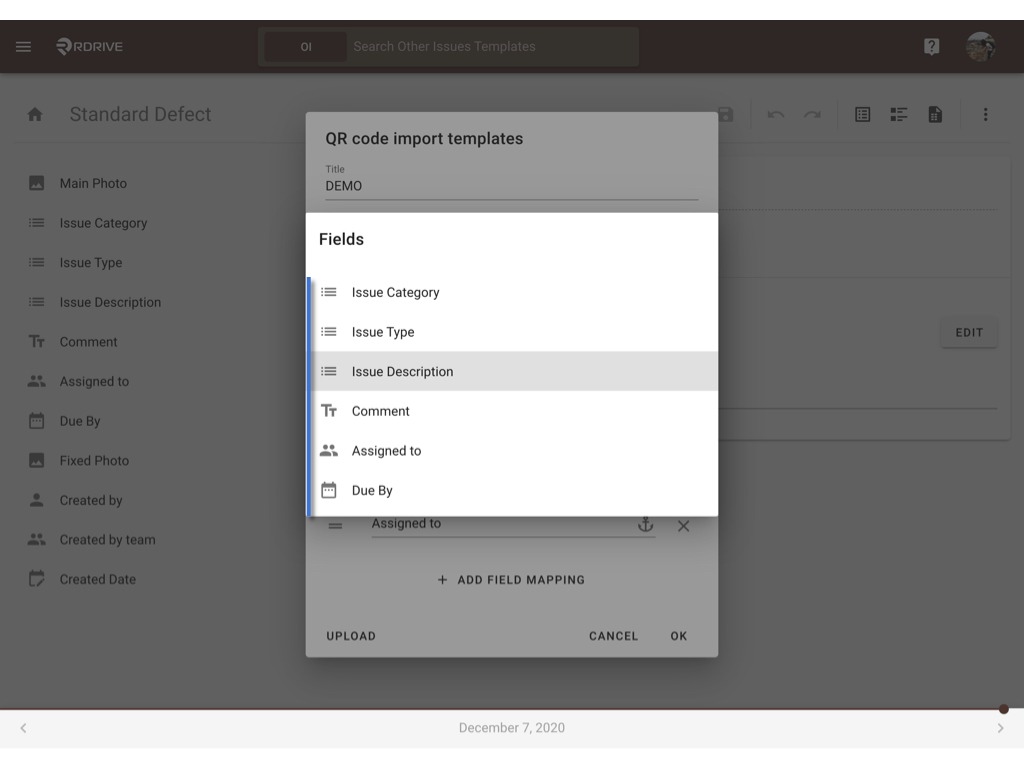
OK to confirm.

Template created.

Upload a QR code based on the content and map with the data type.
If you have a QR code on your hand, you could upload it to detect the mapping by the content.
Select UPLOAD
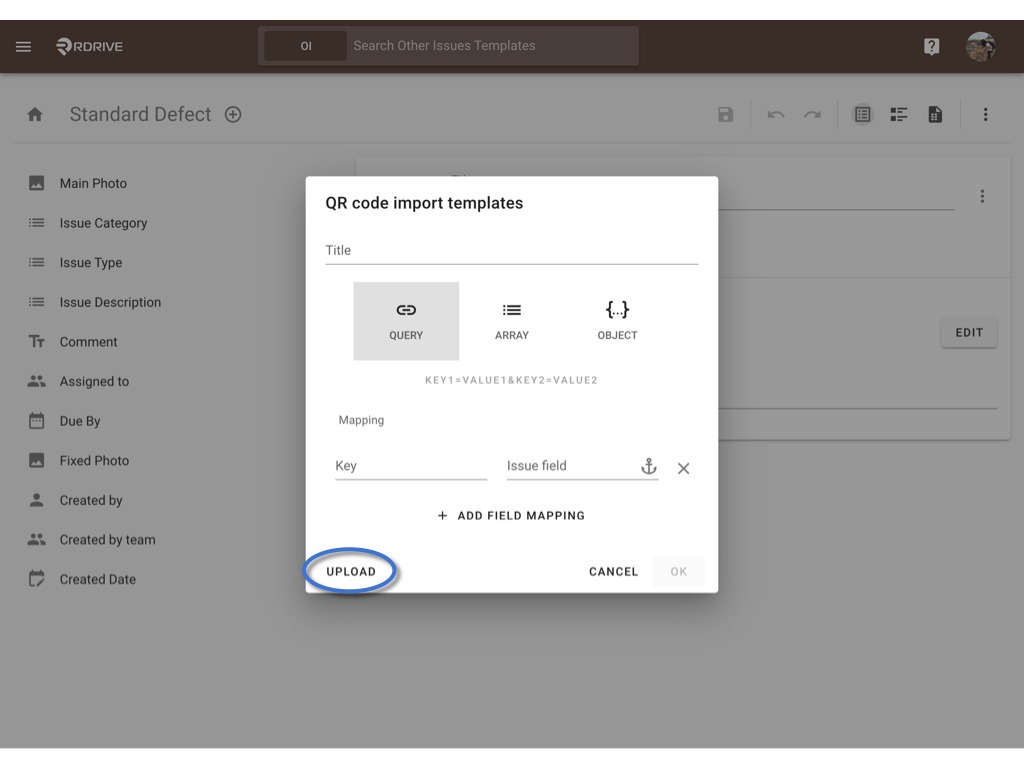
Click to select the QR code from your file to upload for detection.

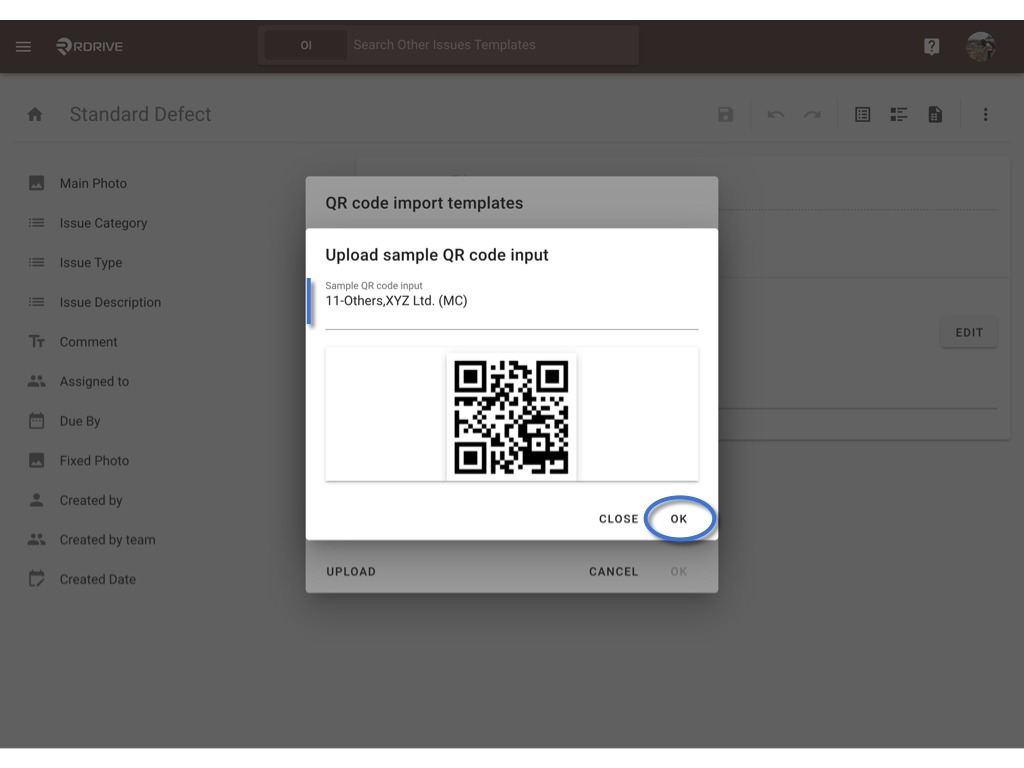
The content of the QR code will display as below, you may check and edit from here if necessary.
OK to detect.
Click on the Form field to start mapping.
Select the related field one by one to map.

OK to confirm.

DONE.

Click to know How to add QR code import template to a form?
Was this article helpful?
That’s Great!
Thank you for your feedback
Sorry! We couldn't be helpful
Thank you for your feedback
Feedback sent
We appreciate your effort and will try to fix the article