 |

Overview
How to raise an issue, defect or record using RDrive
- Purpose: How to raise an issue, defect or form against a location on the app and desktop
- Who It’s For: [General users, admins, project teams, etc.]
Prerequisites: Able to raise an issue, defect or record
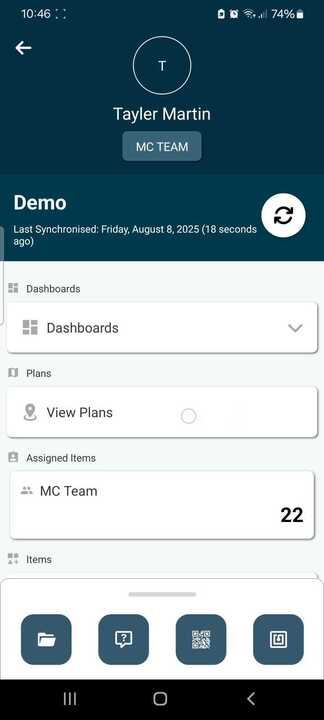
Step-by-Step Instructions - App
✅ Step 1: Accessing the Plan Viewer
From the main menu in the app, select "View Plans" Under the Plans tab.
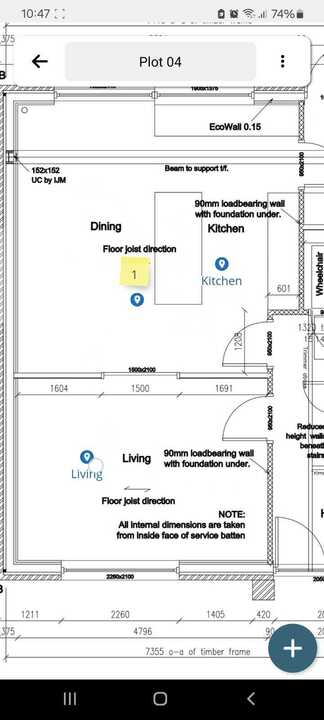
Navigate to the required drawing using the drilldown buttons as required.
Once your required drawing or floor is open, you should now see blue "Location Pins"; all actions are raised against locations within a drawing. Click the blue pin required to get started raising actions to that location.
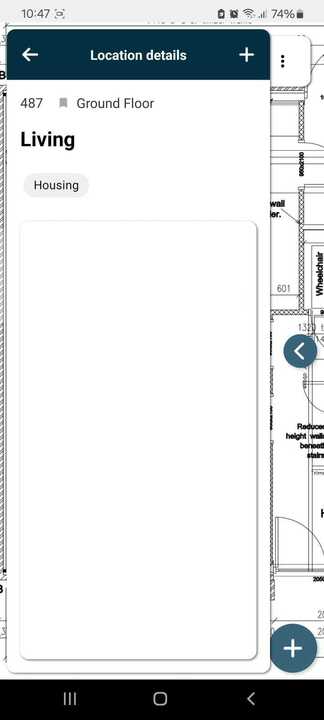
✅ Step 2: Raising Actions Against a Location
Selecting a location will open a tab allowing you to add actions to this location. Select the "+" button in the top right.
Select the required action from the appropriate subcategory, a defect or a form, for example.

✅ Step 3: Placing the Pin on the Drawing
You can now place the pin against the location selected, drag or press where to place the pin and select "Place" once in the correct position.
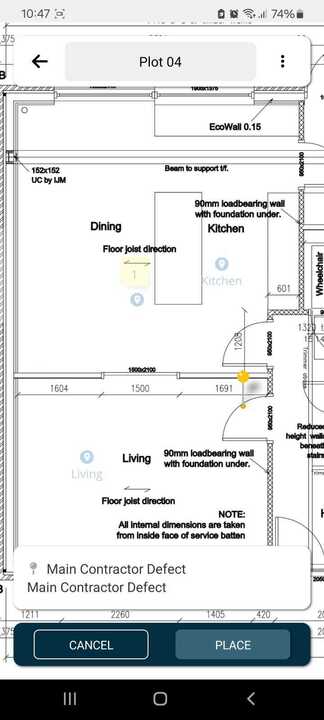
You can zoom and adjust the drawing on screen by pinching two fingers on the screen to adjust size as required.
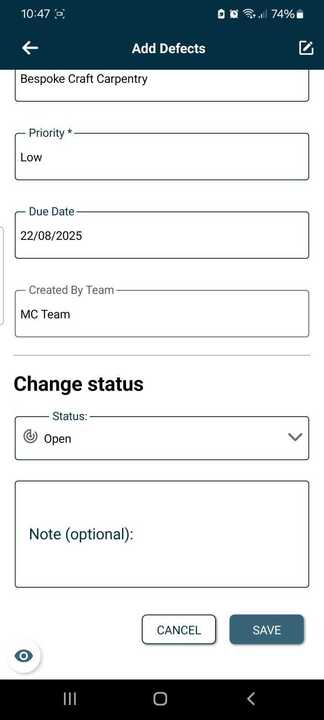
✅ Step 4: Enter the Action Information
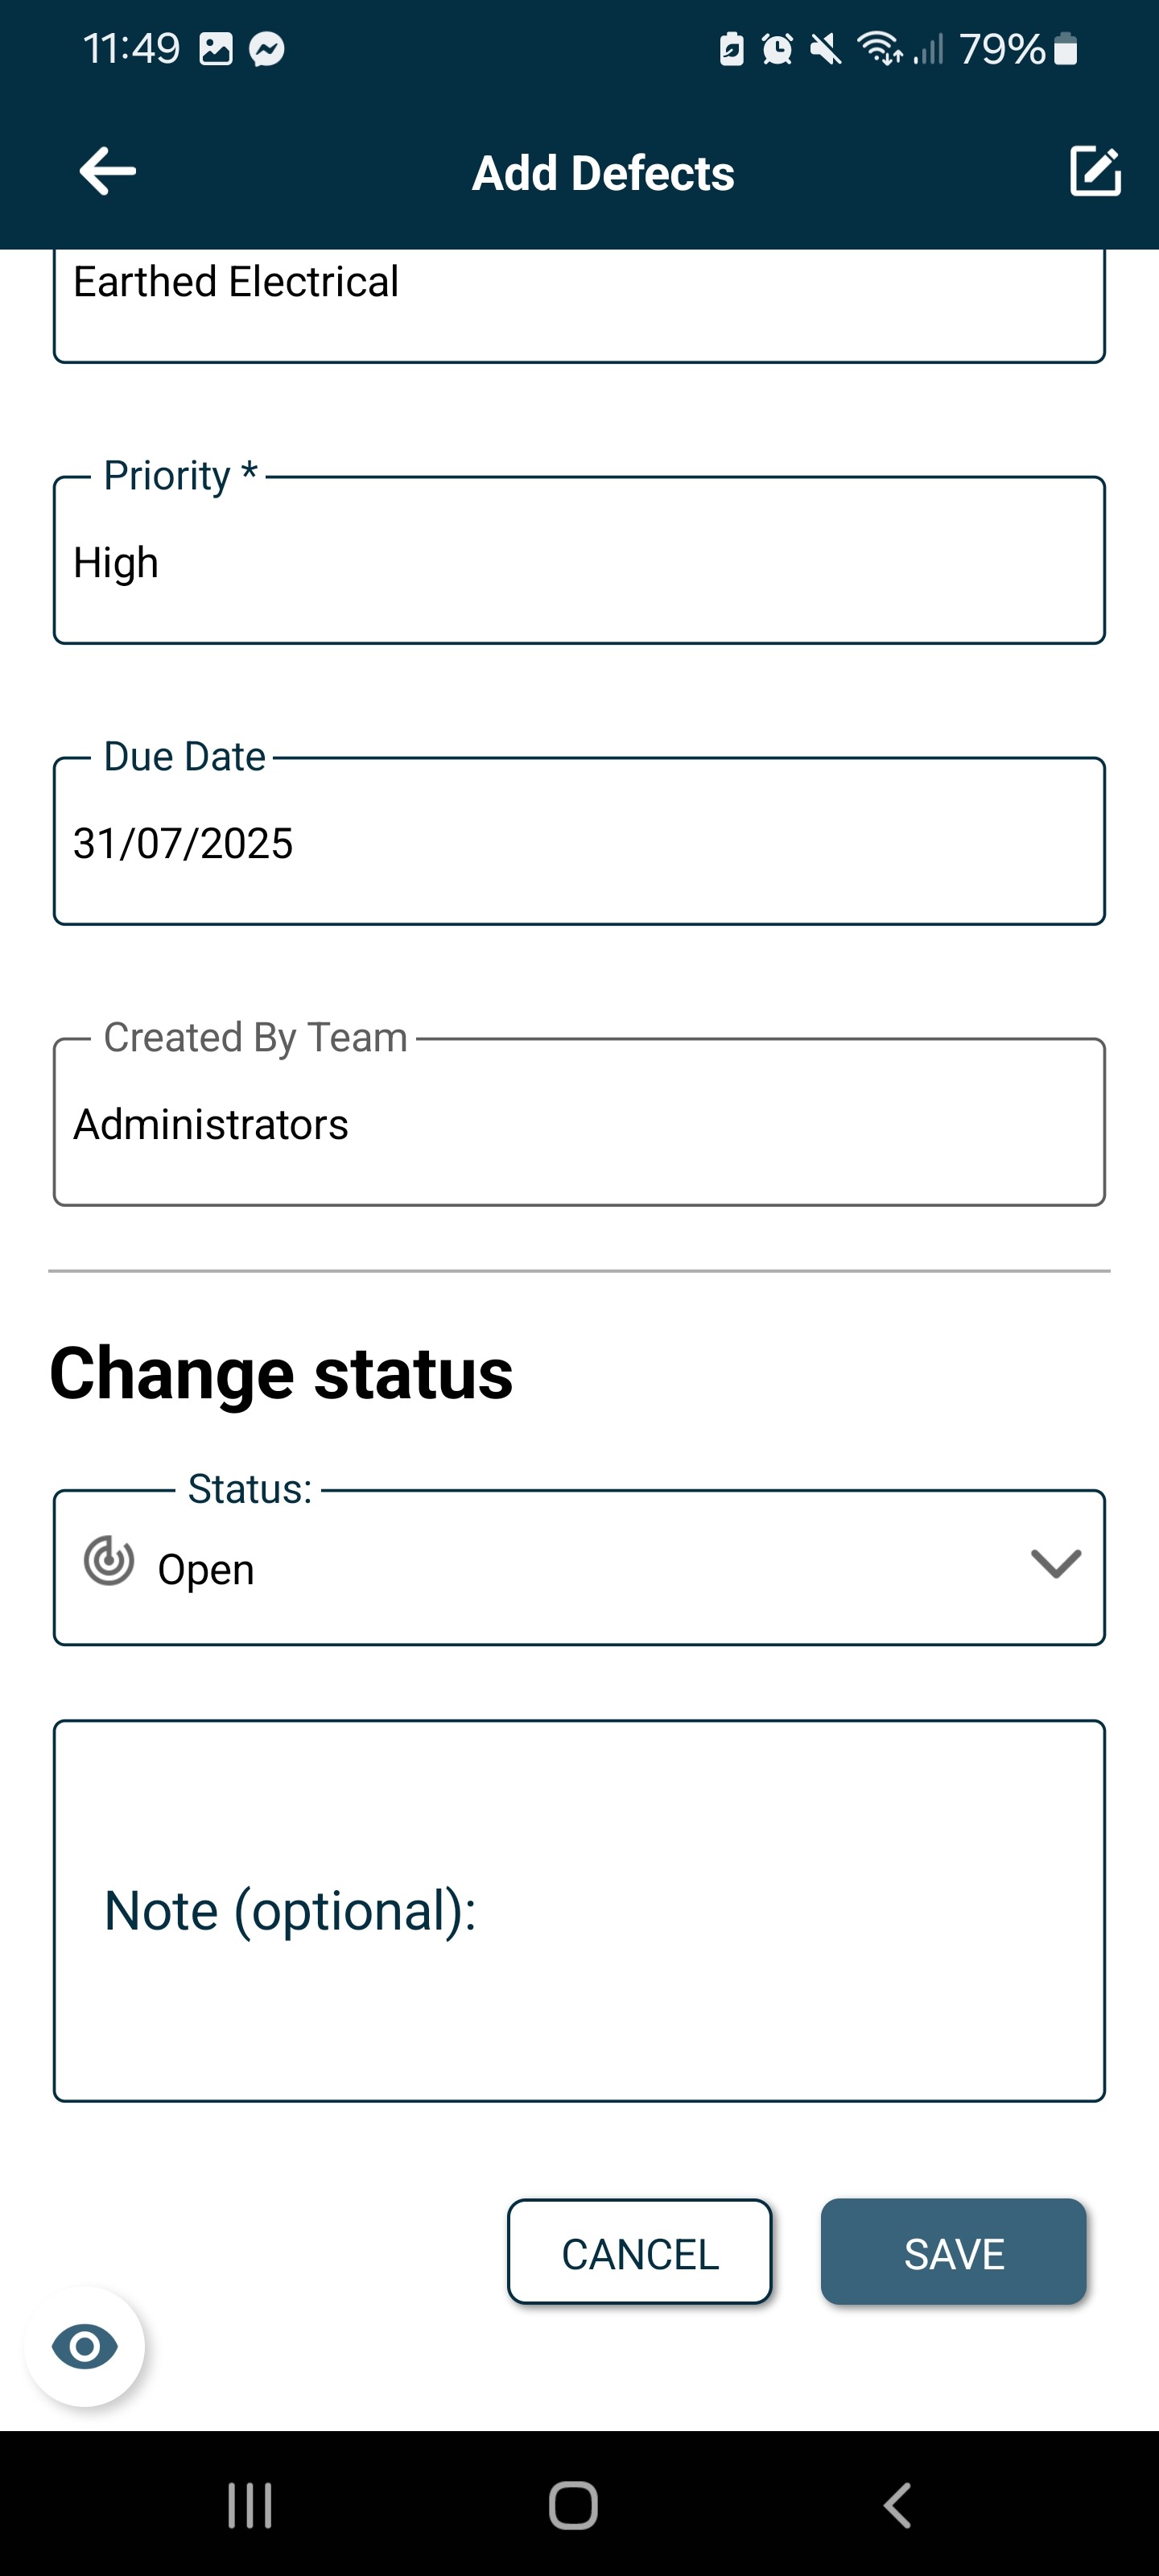
We can now fill out the action details. For defects, this will be categorising the issue with the option to add photos, for forms, this will be bespoke to the digital form process itself. Fields marked with a * are mandatory to complete before moving on.
Once all mandatory fields are completed, select "Save" in the bottom right. The defect or form will now be added against the location on the drawing.
Quick Steps
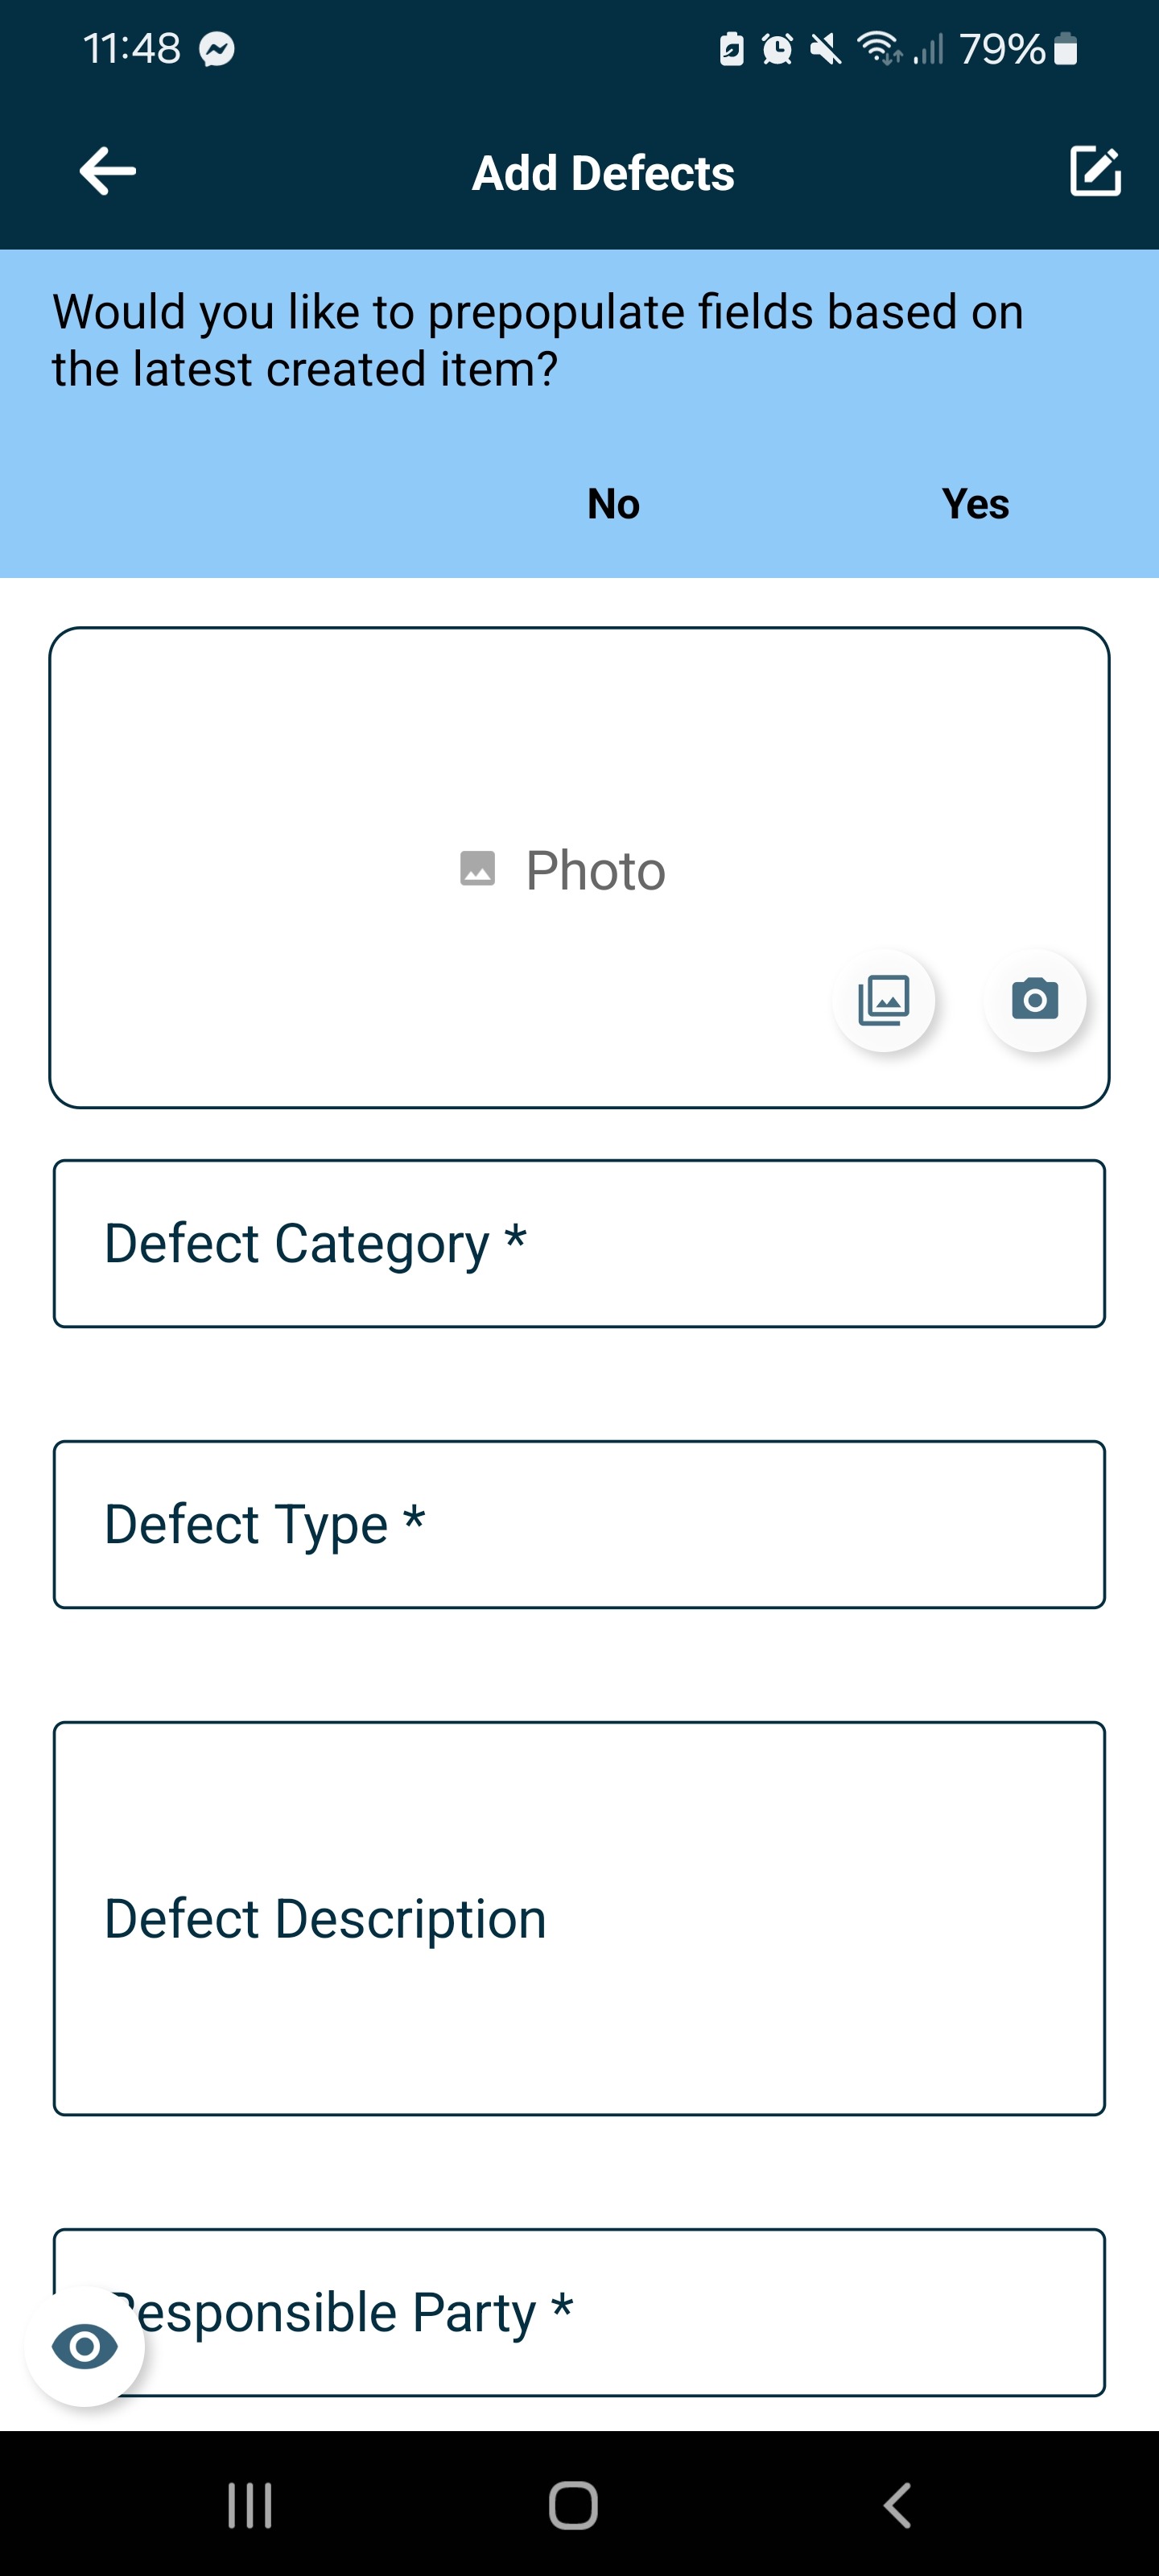
✅ Step 1: Auto-filling Item Information Using Prepopulate
Once you have added an action to your drawing, each item created after this will prompt the user if they "Would you like to prepopulate fields based on the latest created item?" which will appear in a blue banner when using the app. Select yes to copy all completed fields from the last item to this new item.
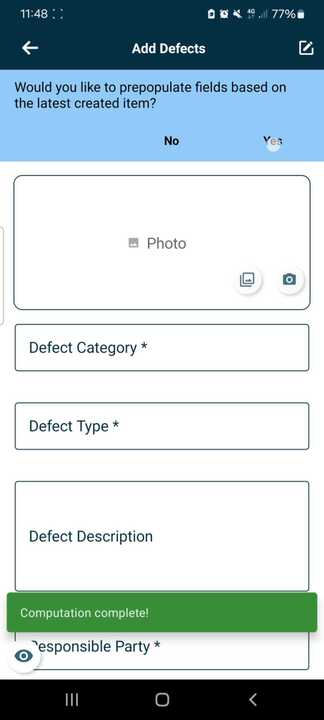
This will then add all previous data entries for this item, except for photos, which will need to be added again as needed. You can amend any field here to correctly reflect the items description as needed.
It is worth noting that using this method will only copy the last item's information added to the systems, and all data would need to be checked to ensure data validity.
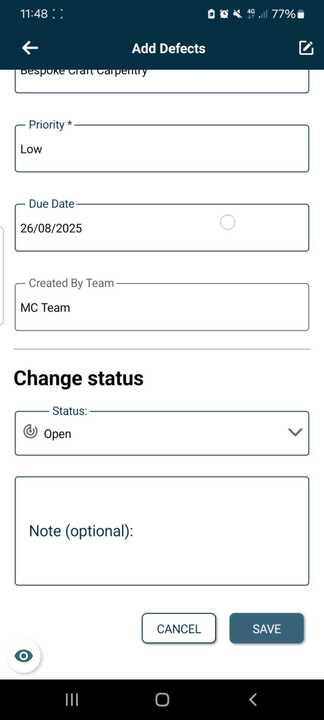
✅ Step 2: Auto-filling Information from a Previously Added Item
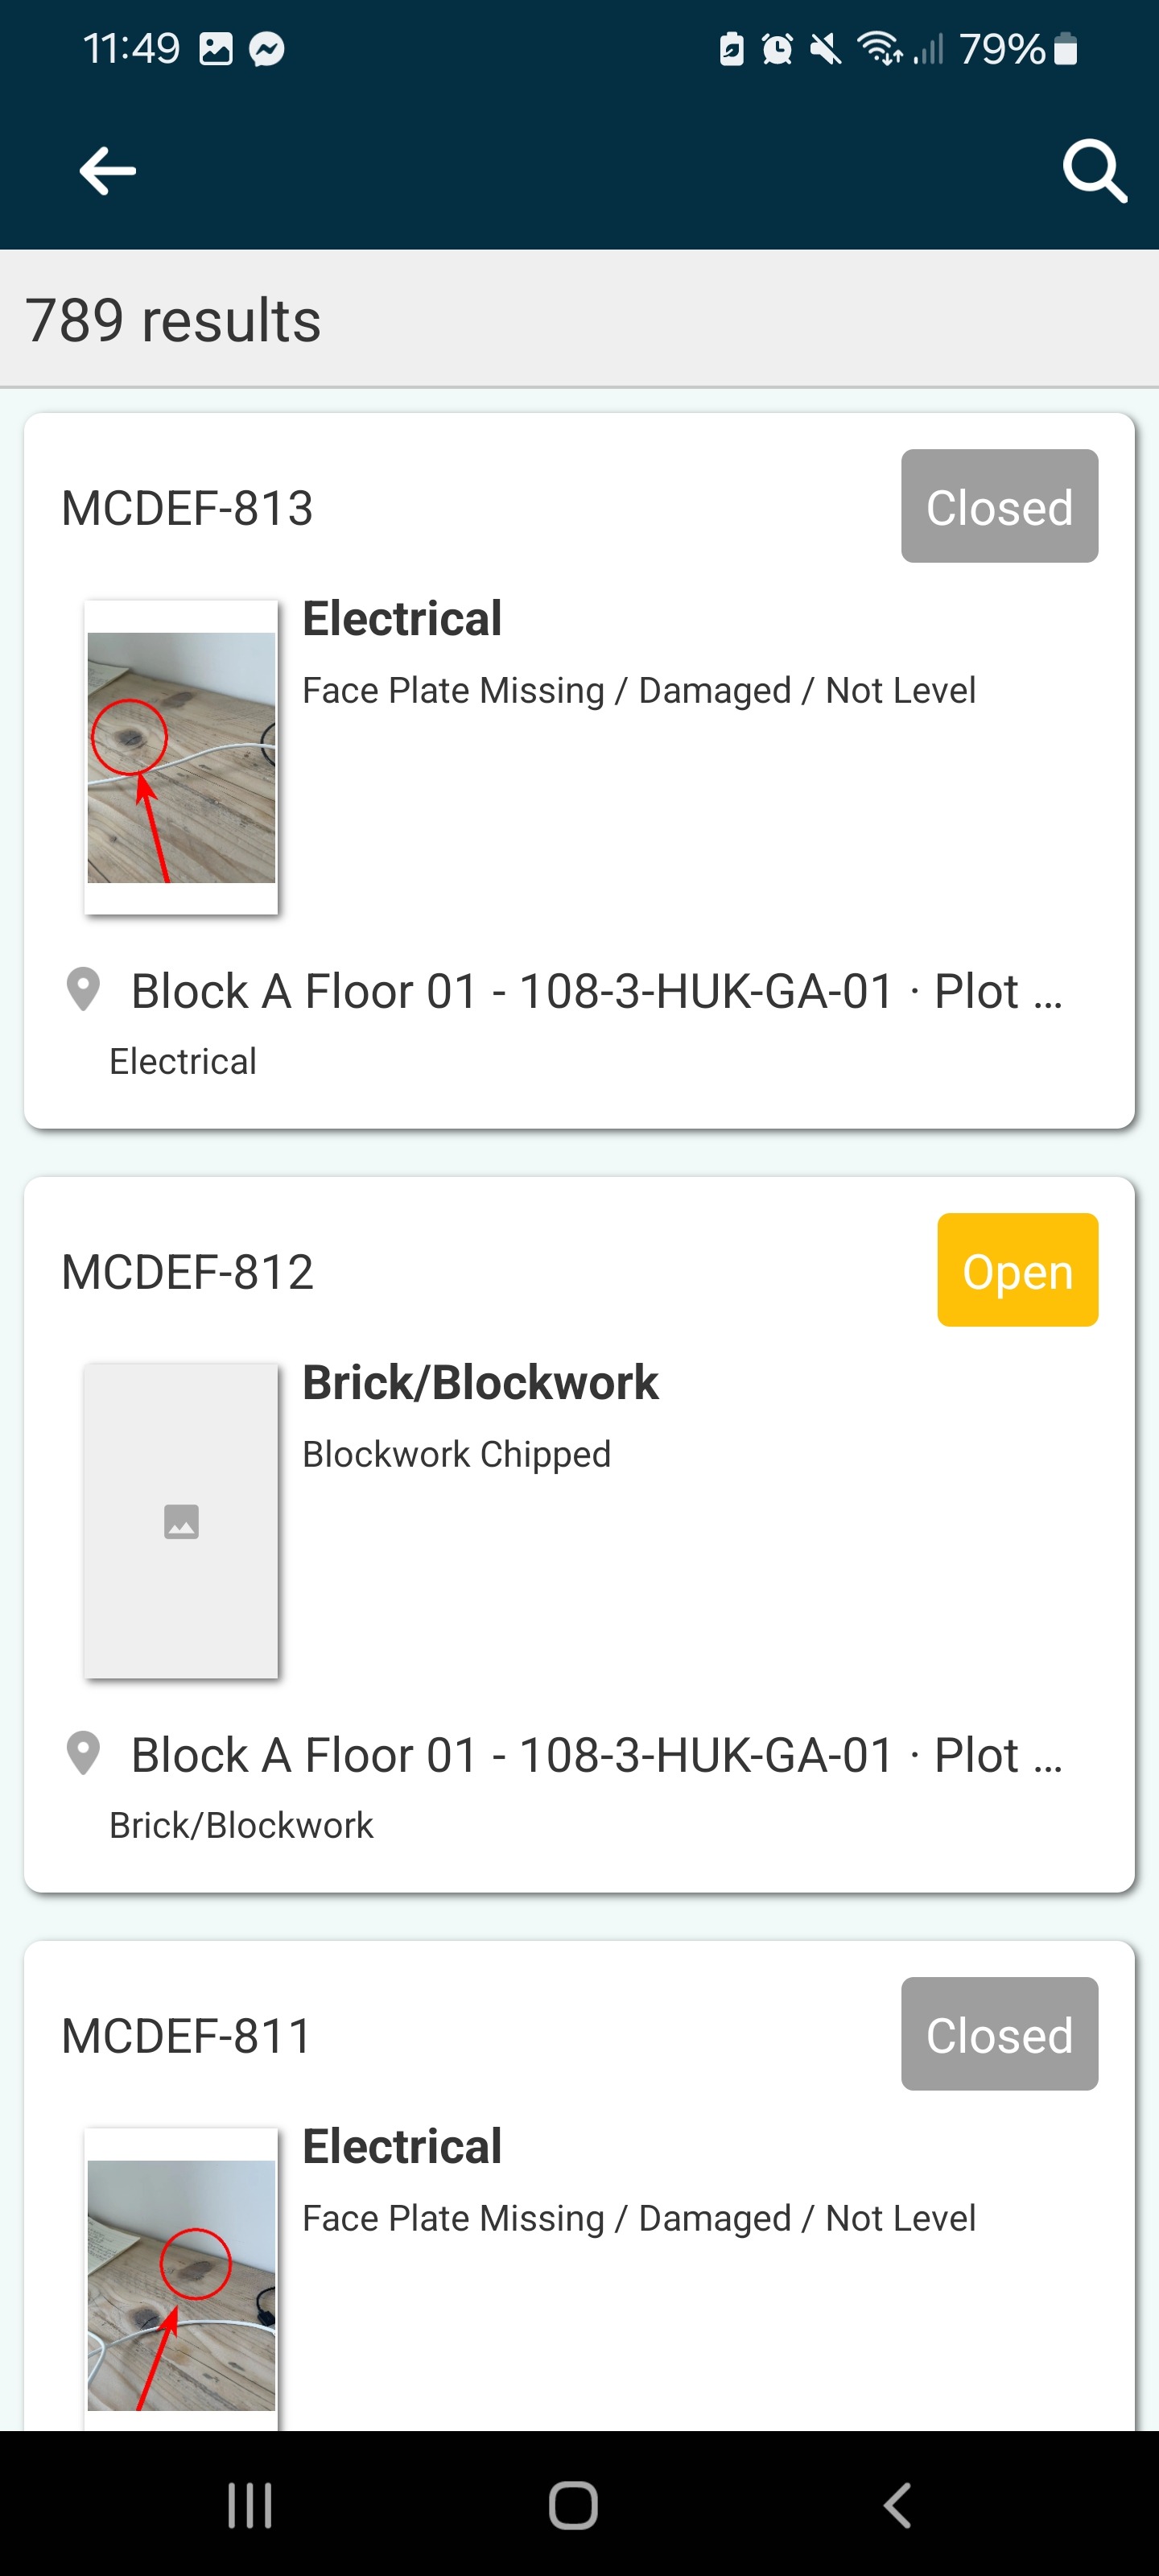
Should you wish to auto-fill the data from an item made previously, maybe on another floor, we can do this from the "Add Defects" Window. From this panel, click the pen icon in the top right.
This will then take you to the "Autofill with" Section and list any previously created items. Selecting an item will then prepopulate and autofill the descriptions from the selected item to the new item's description fields.
Amend any fields as needed to ensure data quality and add any required photos. Once complete, select "Save" in the bottom right corner.
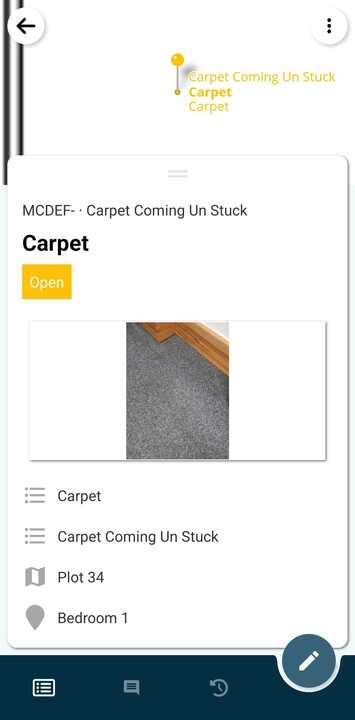
✅ Step 3: Quick adding to the same location
Should you wish to quickly add another item of the same type you last created you can do this quickly by pressing the icon that appears above the "+" in the bottom right of the app, as default this will add on to the last location action was raised to.
Please note: this will only show once an item has been added on the app.

This will add the same item type as the last added, main contractor defect, client defect, etc and add the new pin on top of the same location as the last action raised.

Reposition the pin and place this as needed on the drawing.

From here you can enter the details manually or auto fill these details as above to add the details from the last created item.

FAQs & Troubleshooting
Q: How do I raise a defect or form in RDrive?
A: Open the Plan Viewer (app or desktop), navigate to a drawing, and select a location pin or tap the "+" button. Choose an action (defect/form), place the pin, complete required fields (*), and hit "Save".
Q: Can I reuse info from a previous defect or form?
A: Yes. On the app, select "Yes" when prompted to prepopulate from the last item. Or, tap the pen icon in "Add Defects" to copy from an older item. Adjust fields as needed before saving.
Q: Should I use the pin or the "+" button to raise an issue?
A: Use a pin if it’s already on the drawing for that location. Use the "+" button to place a new pin manually. Both lead to the same action entry process.
Was this article helpful?
That’s Great!
Thank you for your feedback
Sorry! We couldn't be helpful
Thank you for your feedback
Feedback sent
We appreciate your effort and will try to fix the article